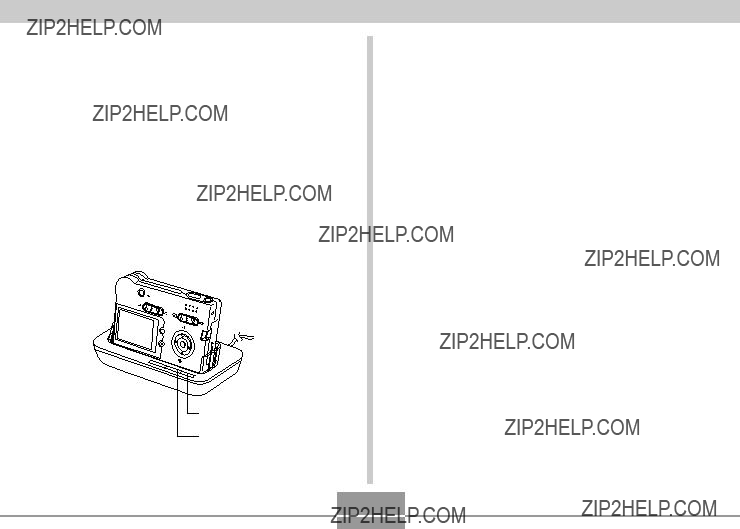
PLAYING AN AUDIO FILE (EX-M20U Only)
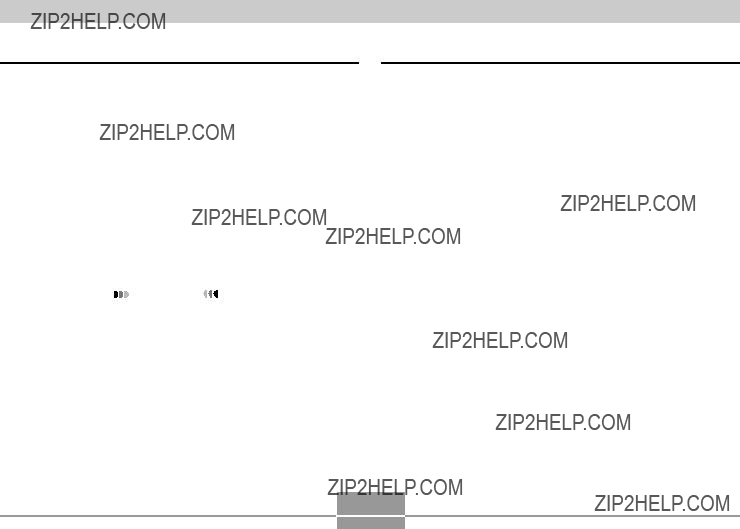
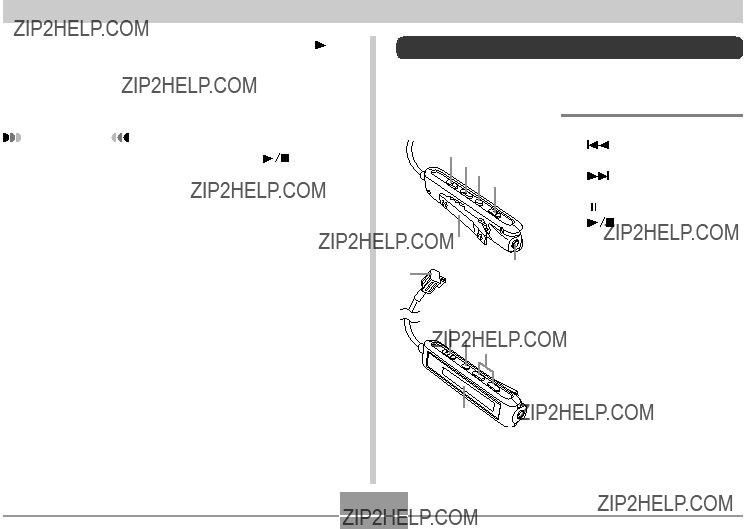
Basic Remote Controller Operations
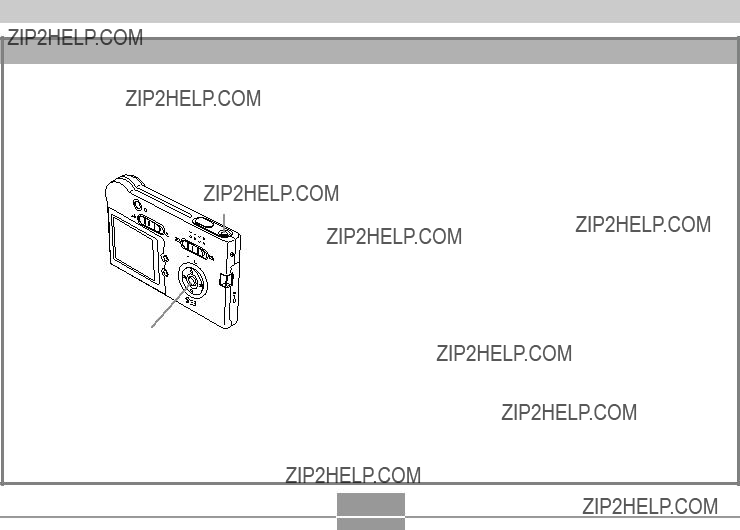
???To start playback
Press the [  ] button. The remote controller beeps to indicate that playback has started.
???Pressing the [  ] button while the camera is off turns on power and starts playback.
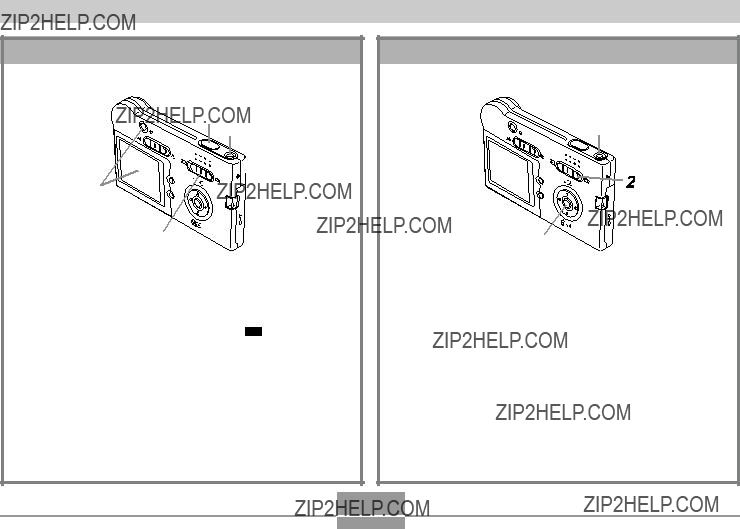
???To pause playback
Press the [ 
 ] button (remote controller beeps).
Pressing the [  ] button or the [
 ] button resumes playback (remote controller beeps).
???If the Auto Power Off trigger time (about two minutes or five minutes) is reached while playback is paused, the camera will automatically turn off.
???To fast forward the playback
Hold down the [  ] button for a few seconds until fast forward starts.
???To fast reverse the playback
Hold down the [
 ] button for a few seconds until fast reverse starts.
???To skip to the beginning of the current track
Press the [
 ] button (remote controller beeps).
To skip to the beginning of a previous track, press the
[
 ] button multiple times (remote controller beeps).
The current track number is shown on the LCD.
???To skip to the beginning of the next track
Press the [  ] button (remote controller beeps).
To keep skipping forward, press the [  ] button multiple times (remote controller beeps). The current track number is shown on the LCD.
???To stop playback
Press the [  ] button (remote controller beeps).
???Pressing the [  ] button again will restart playback from the beginning of the track where it was stopped.
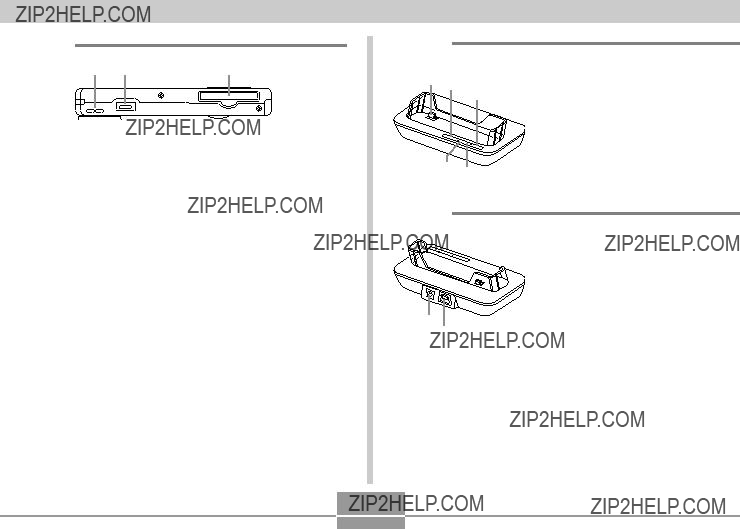
???To adjust volume
Press the [+] or [???] volume buttons to adjust volume to the desired level. The LCD shows the current volume level.
???To turn off power
Press the camera???s power button.
???Camera power also turns off automatically if you do not perform an operation for about 10 seconds after playback is stopped.

 IMPORTANT!

???The button operation tone does not sound if the camera???s button tone function is turned off (page 107).
???You cannot use fast forward, fast reverse, or skip while the current volume level is shown on the LCD.


 IMPORTANT!


 IMPORTANT!
 ??? (REC).
 ??? (PLAY).
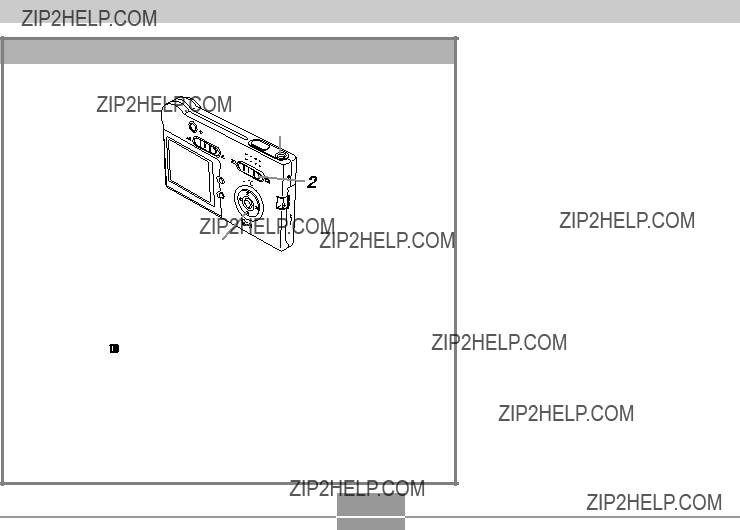
 ??? (PLAY).
 ).
).
 NOTE
NOTE
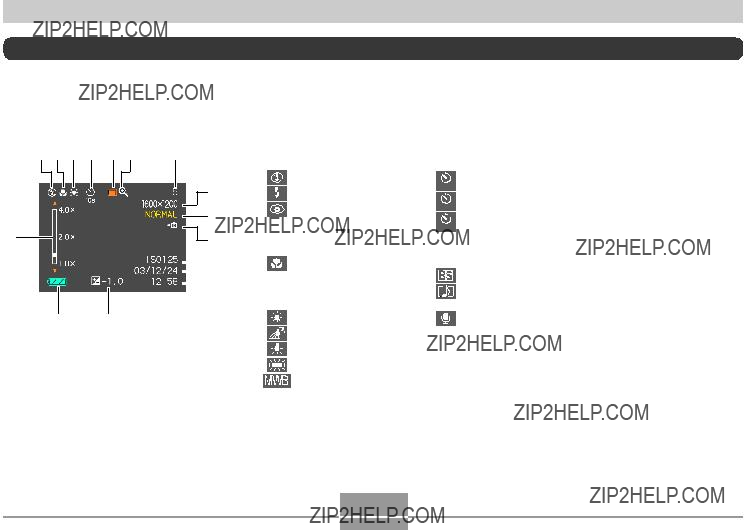
 Snapshot


 Memory card selected for data storage.

 IMPORTANT!


 IMPORTANT!


 IMPORTANT!


 IMPORTANT!


 NOTE
NOTE 


 IMPORTANT!


 NOTE
NOTE 


 (flash off) for the flash mode. See page 47 for more information.
 indicator means that remaining battery power is low.
 . Charge the battery immediately whenever either of these indicators appears.

 NOTES
NOTES 


 IMPORTANT!


 IMPORTANT!


 ???
???

 IMPORTANT!


 IMPORTANT!


 NOTE
NOTE 


 ??? (REC).


 IMPORTANT!


 NOTE
NOTE 


 IMPORTANT!


 NOTE
NOTE 


 IMPORTANT!

 on the monitor screen, and when the flash fails to fire properly resulting in poor image exposure. When these symptoms occur, charge the camera???s battery as soon as possible.
 ) is selected, flash intensity is adjusted automatically in accordance with the exposure. The flash may not fire at all when the subject is brightly lit.

 IMPORTANT!

 indicator to appear on the monitor screen.
 )/Macro
 ) selector setting at ???
 ???.
???.

 NOTES
NOTES 


 NOTES
NOTES 


 NOTE
NOTE 


 IMPORTANT!


 IMPORTANT!


 NOTES
NOTES 


 NOTES
NOTES 


 BESTSHOT???, and then press [SET].
 IMPORTANT!


 NOTE
NOTE 


 BESTSHOT???, and then press [SET].
 IMPORTANT!


 NOTES
NOTES 

 BESTSHOT???, and then press [SET].
 ) to delete the user setup.
 BESTSHOT???, and then press [SET].


 (
( +
+ )???, and then press [SET].
 Voice???, and then press [SET].


 IMPORTANT!


 IMPORTANT!


 NOTE
NOTE 


 NOTE
NOTE 


 NOTE
NOTE 


 IMPORTANT!


 NOTES
NOTES 

 ??? (PLAY).
 indicator) and play its audio.
 IMPORTANT!


 IMPORTANT!


 ) to enlarge the image.
 IMPORTANT!


 IMPORTANT!


 IMPORTANT!

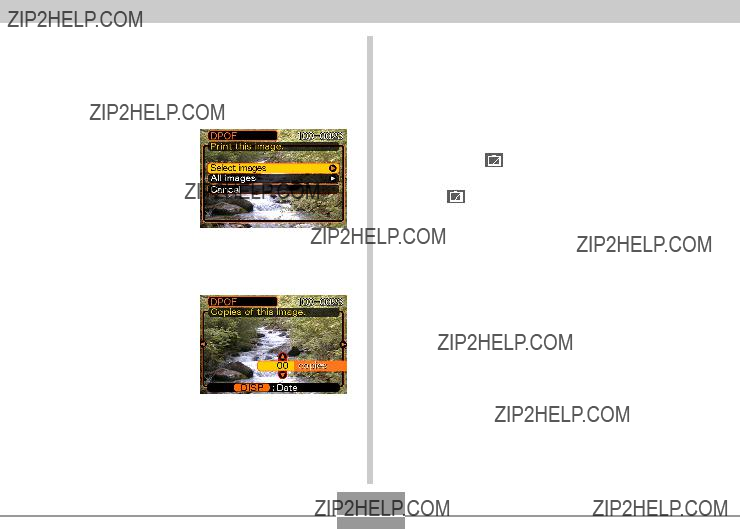
 is displayed in the calendar screen to indicate voice recording file images (page 92,
  appears in place of the image when the date contains data that cannot be displayed by this camera.

 IMPORTANT!


 IMPORTANT!


 IMPORTANT!


 ??? (PLAY).
 ??? (REC) to enter the REC mode or press the power button to turn off the camera.
 IMPORTANT!


 icon on it).
 IMPORTANT!

 (Audio) icon appears on the monitor screen after audio recording is complete.
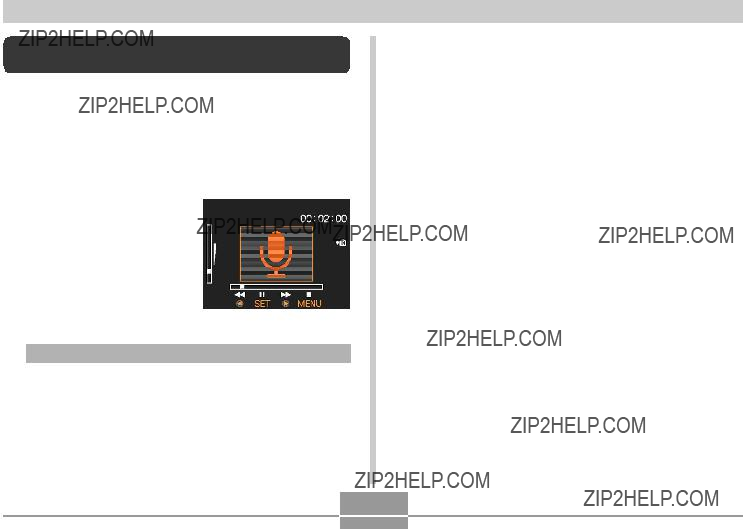
 on it) you want to play.
 IMPORTANT!


 IMPORTANT!

 ).
).

 IMPORTANT!

 ).
).

 mark.
mark.


 IMPORTANT!


 IMPORTANT!


 NOTES
NOTES 


 NOTE
NOTE 


 IMPORTANT!

 ).
).

 IMPORTANT!

 ).
).
 IMPORTANT!


 NOTE
NOTE 


 NOTE
NOTE 


 IMPORTANT!


 IMPORTANT!


 IMPORTANT!


 IMPORTANT!


 IMPORTANT!


 IMPORTANT!


 IMPORTANT!


 IMPORTANT!


 IMPORTANT!


 IMPORTANT!

 Card???, and then press [SET].


 NOTE
NOTE 


 IMPORTANT!


 IMPORTANT!


 IMPORTANT!


 IMPORTANT!


 IMPORTANT!


 IMPORTANT!


 IMPORTANT!


 IMPORTANT!


 NOTE
NOTE 


 NOTES
NOTES 


 NOTE
NOTE 


 NOTE
NOTE 


 IMPORTANT!


 IMPORTANT!


 IMPORTANT!


 IMPORTANT!


 IMPORTANT!


 NOTES
NOTES 

 ] button.


 ] to start playback.
 NOTE
NOTE 


 ] button or the [
 ] button to stop or pause playback.
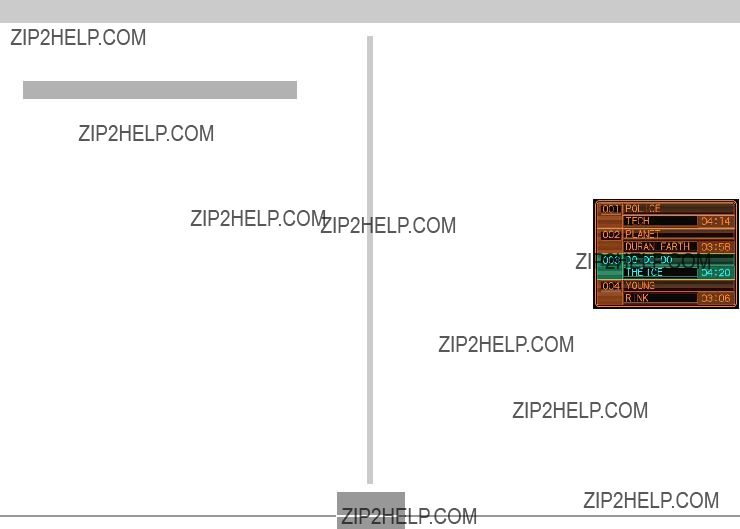

 IMPORTANT!


 ] button or the [
 ] button to stop or pause playback.
 ] on the LCD remote controller or the [SET] button on the camera.
 IMPORTANT!


 IMPORTANT!


 IMPORTANT!

 ] button or the [
 ] button to stop or pause playback.

 IMPORTANT!


 IMPORTANT!


 ] button or the [
 ] button to stop or pause playback.

 ] button or the [
 ] button to stop or pause playback.
 NOTE
NOTE 


 NOTE
NOTE 


 IMPORTANT!