U.S.A.
CANON?? ELURA2/ELURA2 MC DIGITAL VIDEO CAMCORDER
LIMITED WARRANTY
The limited warranty set forth below is given by Canon U.S.A., Inc. (???CUSA???) with respect to each Canon ELURA2/ELURA2 MC Digital Video Camcorder (???DV Camcorder???) purchased and used in the United States.
Each Canon DV Camcorder, when delivered to you in new condition in its original container, is warranted against defective material or workmanship as follows: for a period of one (1) year from the date of original purchase (three (3) months in the case of the video head part), defective parts or DV Camcorders returned to a CUSA factory service center (???CUSA Center???) or an authorized DV Camcorder service facility (???Service Facility???), and proven to be defective upon inspection, will be repaired or exchanged for new or comparable rebuilt parts or DV Camcorders. The warranty period for repaired or replacement parts or DV Camcorders shall begin upon shipment of the same, but shall in no event exceed the original warranty period of the defective part or DV Camcorder.
Non-Canon brand peripheral equipment and software which may be distributed with Canon DV Camcorders are sold ???AS IS???, without warranty of any kind by CUSA, including any implied warranty regarding merchantability or fitness for a particular purpose. The sole warranty with respect to such non-Canon brand items is given by the manufacturer or producer thereof.
CUSA shall have no responsibility under this limited warranty for use of Canon DV Camcorders in conjunction with incompatible peripheral equipment and incompatible software.
In order to obtain warranty service, contact the authorized Canon retail dealer from whom you purchased the DV Camcorder or call the CANON INFORMATION CENTER AT 1-800-828-4040 (which is open from 9:00 a.m. to 5:00 p.m. (E.S.T.), Monday through Friday, excluding holidays). Have your unit serial number and your date of purchase available when you make the call to expedite service. In either case you will be directerd to ship the DV Camcorder, postage prepaid, to the CUSA Center or Service Facility nearest to you. You must include a copy of the proof of purchase (bill of sale) and a complete explanation of the problem. DV Camcorders covered by this limited warranty will be repaired and returned to you without charge by the CUSA Center or the Service Facility. Repairs not under warranty will be at such cost as the CUSA Center or Service Facility may from time to time generally establish.
This limited warranty covers all defects encountered in normal use of the DV Camcorder, and does not apply in the following cases:
(a)Loss of or damage to the DV Camcorder due to abuse, mishandling, improper packaging by you, alteration, accident, leaking batteries, exterior nicks, scratches or dents, electrical current fluctuations, failure to follow operating instructions, maintenance and environmental instructions prescribed in CUSA???s instruction manual, or service performed by other than a CUSA Center or Service Facility.
(b)Use of parts or supplies (other than those sold by CUSA) which cause damage to the DV Camcorder or cause abnormally frequent service calls or service problems.
(c)If any DV Camcorder has had its serial number or dating altered or removed.
This limited warranty does not apply to accessories or consumables for the DV Camcorder, which are sold ???AS IS???, without warranty of any kind by CUSA.
NO IMPLIED WARRANTY, INCLUDING ANY IMPLIED WARRANTY OF MERCHANTABILITY OR FITNESS
FOR A PARTICULAR PURPOSE, APPLIES TO THE DV CAMCORDER AFTER THE APPLICABLE PERIOD OF
EXPRESS WARRANTY STATED ABOVE, AND NO OTHER EXPRESS WARRANTY OR GUARANTY, EXCEPT
AS MENTIONED ABOVE, GIVEN BY ANY PERSON, FIRM OR CORPORATION WITH RESPECT TO THE DV
CAMCORDER SHALL BIND CUSA. (SOME STATES DO NOT ALLOW LIMITATIONS ON HOW LONG AN
IMPLIED WARRANTY LASTS, SO THE ABOVE LIMITATION MAY NOT APPLY TO YOU) CUSA SHALL NOT
BE LIABLE FOR LOSS OF REVENUES OR PROFITS, EXPENSE FOR SUBSTITUTE EQUIPMENT OR
SERVICE, STORAGE CHARGES, LOSS OF DATA, OR ANY OTHER SPECIAL, INCIDENTAL OR
CONSEQUENTIAL DAMAGES CAUSED BY THE USE, MISUSE OR INABILITY TO USE THE DV
CAMCORDER, REGARDLESS OF THE LEGAL THEORY ON WHICH THE CLAIM IS BASED, AND EVEN IF
CUSA HAS BEEN ADVISED OF THE POSSIBILITY OF SUCH DAMAGES. NOR SHALL RECOVERY OF ANY
KIND AGAINST CUSA BE GREATER IN AMOUNT THAN THE PURCHASE PRICE OF THE DV CAMCORDER
SOLD BY CUSA AND CAUSING THE ALLEGED DAMAGE. WITHOUT LIMITING THE FOREGOING, YOU
ASSUME ALL RISK AND LIABILITY FOR LOSS, DAMAGE OR INJURY TO YOU AND YOUR PROPERTY AND
TO OTHERS AND THEIR PROPERTY ARISING OUT OF USE, MISUSE OR INABILITY TO USE THE DV
CAMCORDER NOT CAUSED DIRECTLY BY THE NEGLIGENCE OF CUSA. (SOME STATES DO NOT ALLOW
THE EXCLUSION OR LIMITATION OF INCIDENTAL OR CONSEQUENTIAL DAMAGES, SO THE ABOVE
LIMITATION MAY NOT APPLY TO YOU.) THIS LIMITED WARRANTY SHALL NOT EXTEND TO ANYONE
OTHER THAN THE ORIGINAL PURCHASER OF ANY DV CAMCORDER, OR THE PERSON FOR WHOM IT
WAS PURCHASED AS A GIFT, AND STATES YOUR EXCLUSIVE REMEDY.
This limited warranty gives you specific legal rights, and you may also have other rights which vary from state to state.
Canon U.S.A., Inc.
One Canon Plaza
Lake Success, New York 11042
 Digital


 8)
8) 132)
132) 124)
124) 143)
143) : Reference page numbers
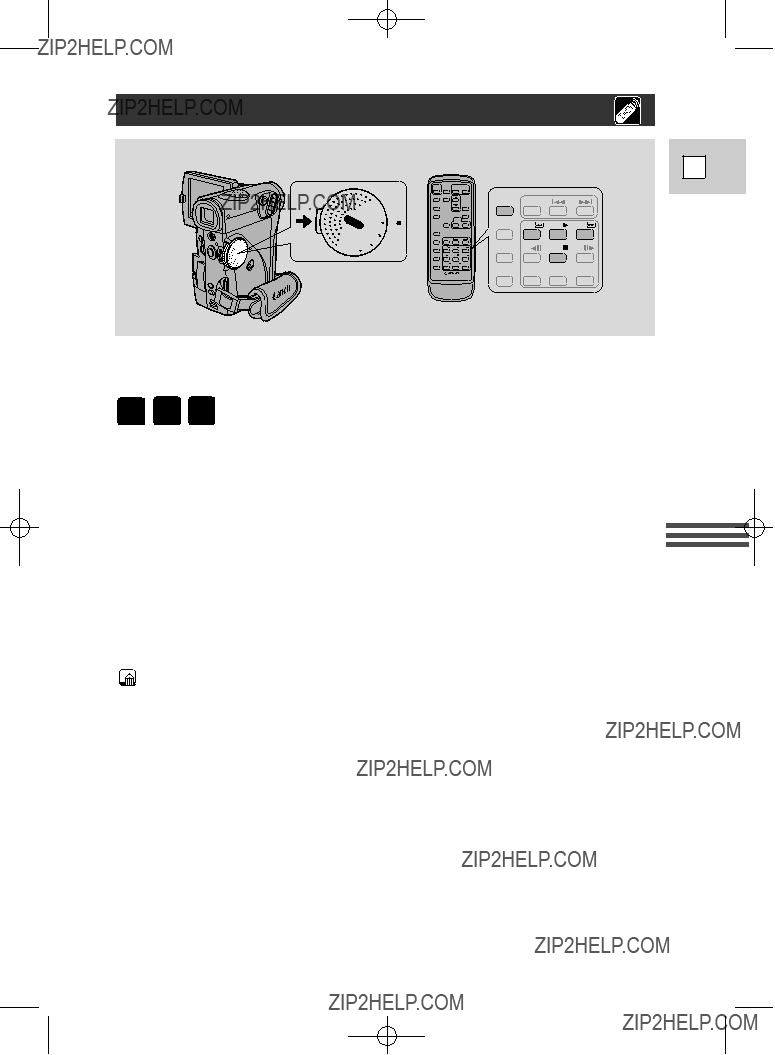
 : Functions that can be operated from the body of the camera
 : Functions that can be operated from the wireless controller
 : Supplementary notes for camcorder operation
 19)
19)
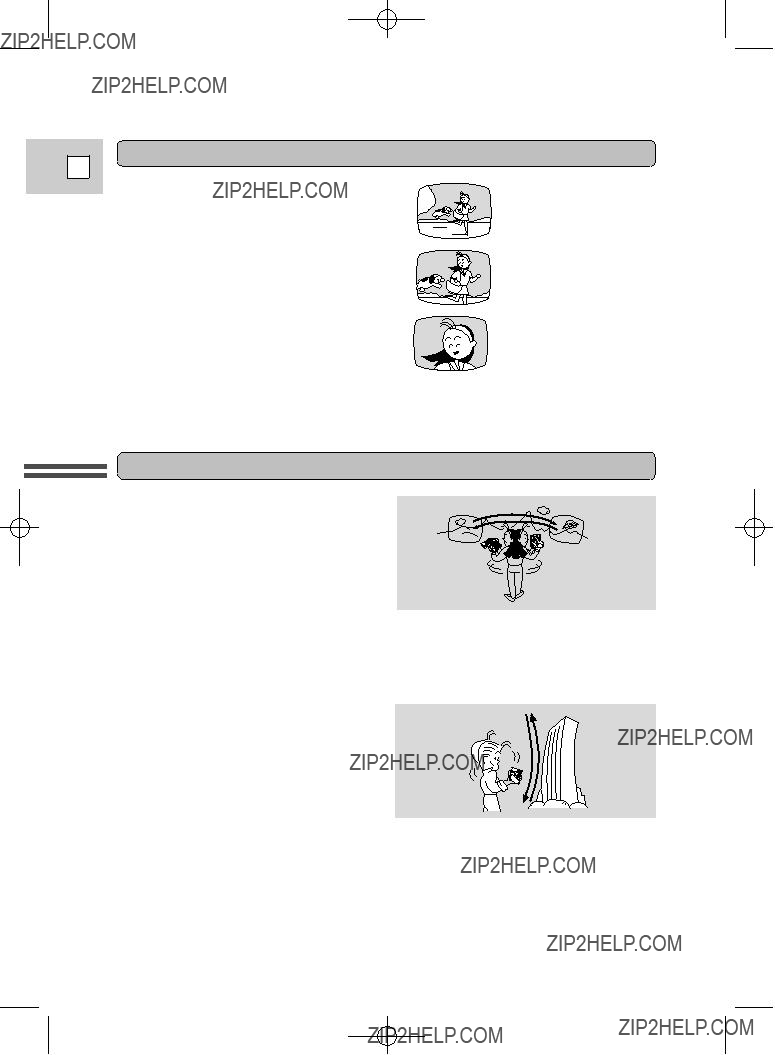
 MC has the technology to


 capture crisp, clear,

 digital still pictures.

 Choose your favorite

 scenes from videos (taken using progressive scan) and display them as blur- free still pictures too!
 add special effects during


 recording or playback. Display 4, 9 or 16 still images at once with the

 REC (record) SEARCH
  EXP button (p. 69)
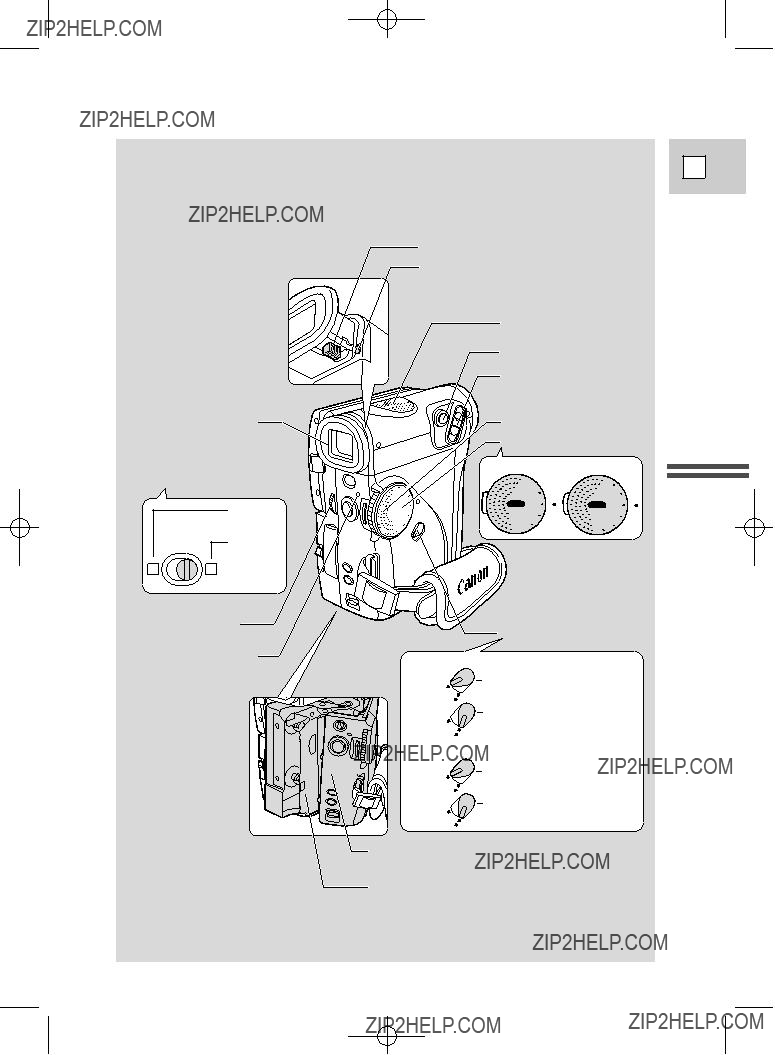


 Grip belt (p. 116)


 buttons (p. 101) (ELURA2 MC only)
 SLOW
SLOW
 button (p. 24)
 button (p. 24)


 button (p. 26)
 button (p. 24) SLOW
  button (p. 26) REW
  button (p. 24)


 button (p. 26) PAUSE
  button (p. 25)

 4 2
4 2 

 129).
129).
 117). These notes include charging and recording times and how to install the backup battery.
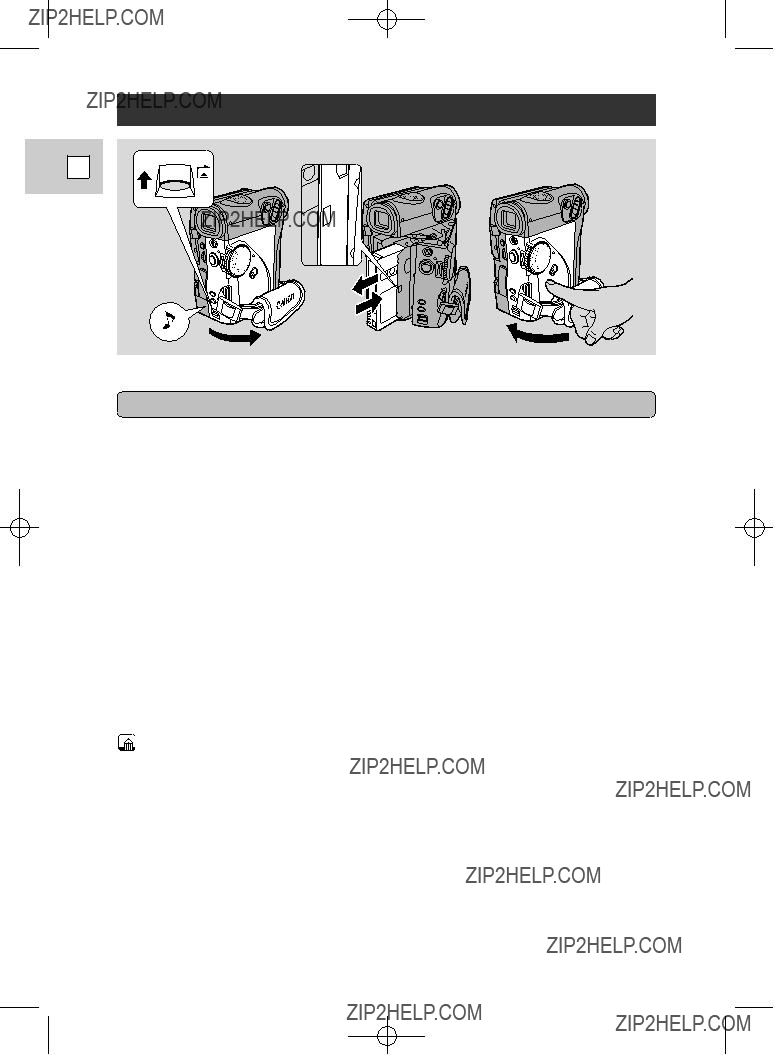
 52) to find the point where you want to start recording.
 133).
133).


 16), ???THE TAPE IS SET FOR ERASURE PREVENTION??? is displayed for approx. 4 seconds and then the
 11).
11). 116).
116). 116) or LCD screen (
  21)
21) 116) /adjusted the LCD screen (
  21)
21) 23).
23). 119) in order to set the date and time display (
  45).
45). 14).
14).
 18).
18).
 48) and CARD REC (ELURA2 MC only,
  97) modes. It is recommended that you return the lock lever to the
 Zoom in


 T
T
 23).
23). 90
90

 34)
34) NO CARD
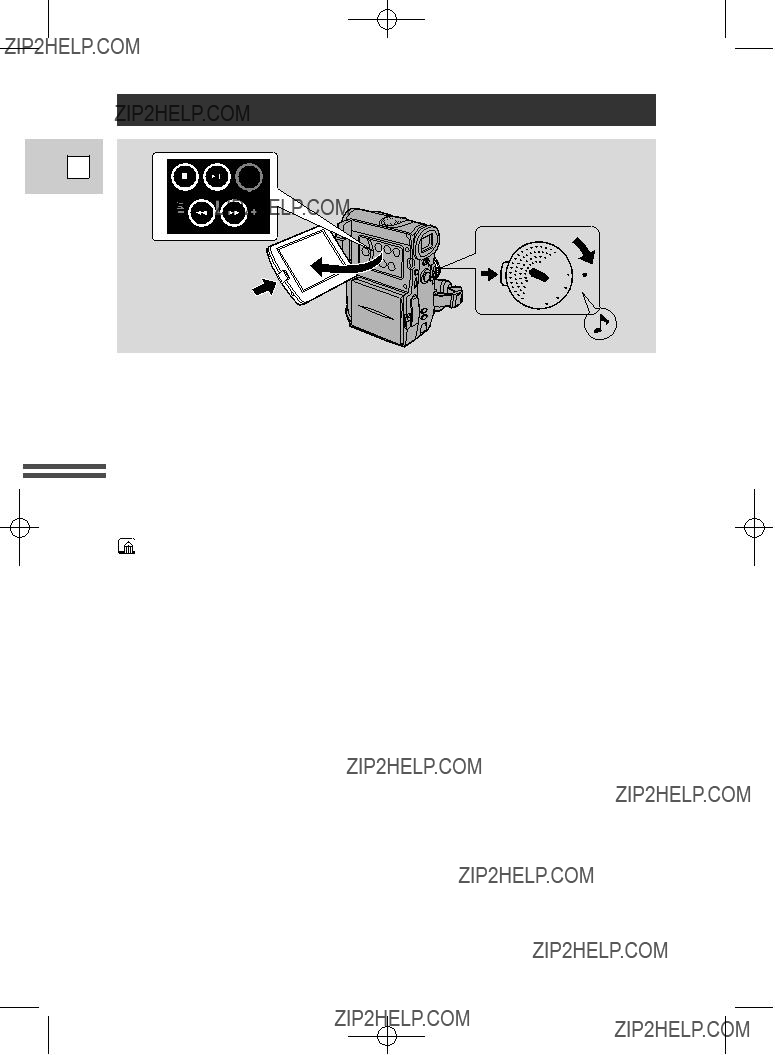
 27).
27).


 FF
FF

 +
+ 


 POWER
POWER

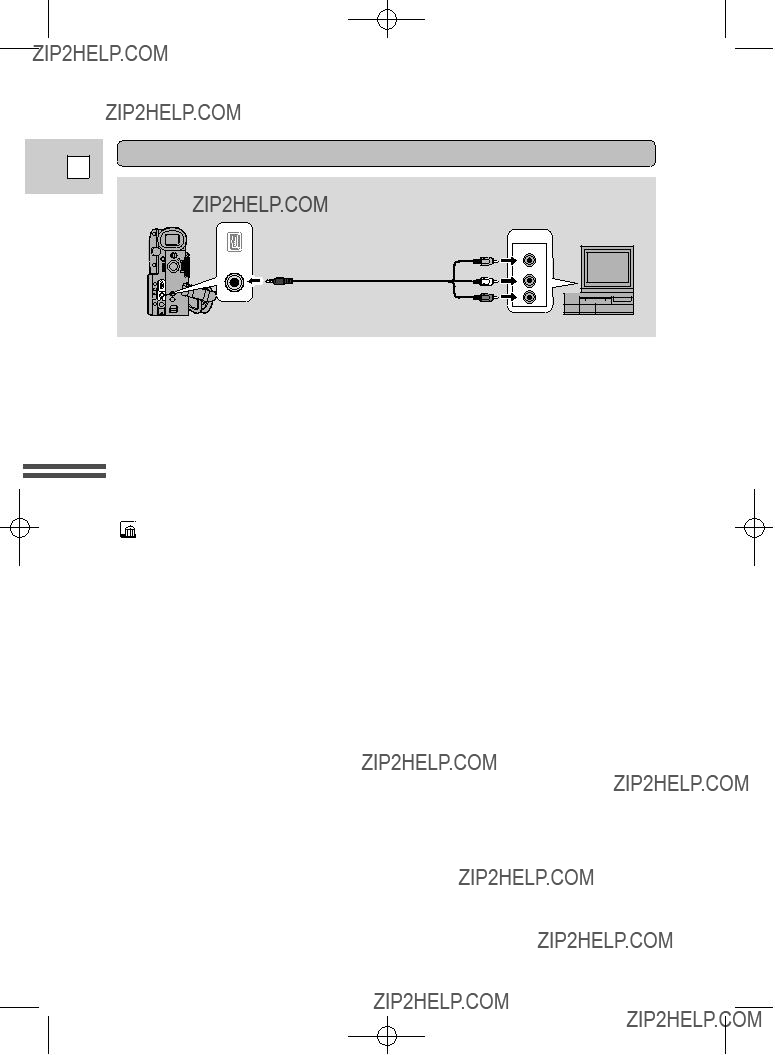
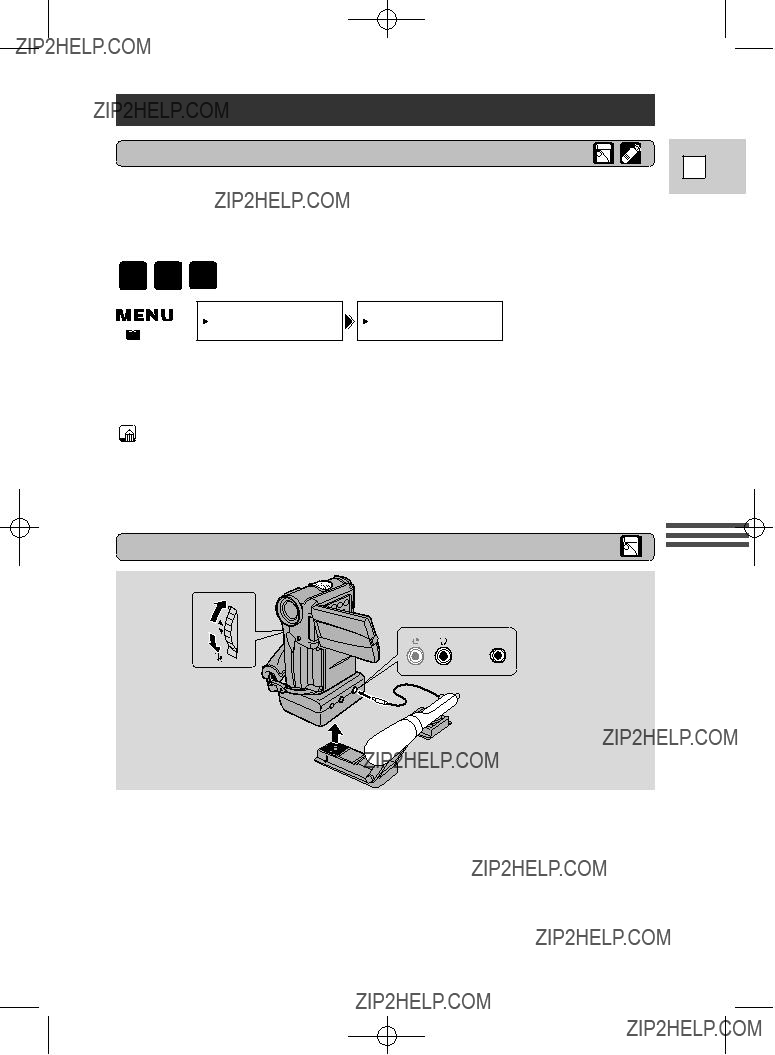
 11). Power off all devices before starting the connections.
 28).
28).


 SEL.SETSET
 SEL.SETSET

 SEL.SETSET
 D.EFFECTS
 SEL.SETSET
 D.E.SELECT??????
 SEL.SETSET
 SEL.SETSET


 SEL.SETSET
 D.E.SELECT??????
 . There are 5 submenus within the C. REC MENU.
 SEL.SETSET
 D.EFFECTS
 SEL.SETSET


 SEL.SETSET

 SEL.SETSET
 SEL.SETSET


 SEL.SETSET
 SEL.SETSET

 SEL.SETSET


 26)
26) 78)
78) 79)
79) 91)
91) 85)
85) 88)
88)

 34)
34)
 75).
75). 119).
119).


 51) for transfer to a PC. ELURA2 MC only: Copy still photos automatically to a MultiMediaCard for transfer to a PC (
  109). Also, starting your shooting with a still photo makes it easy to find the beginning again later with the Photo Search function (
  78).
78).
 125), the camera may not be
 72), the
  26).
26).

 54).
54).


 65).
65).

 23).
23).
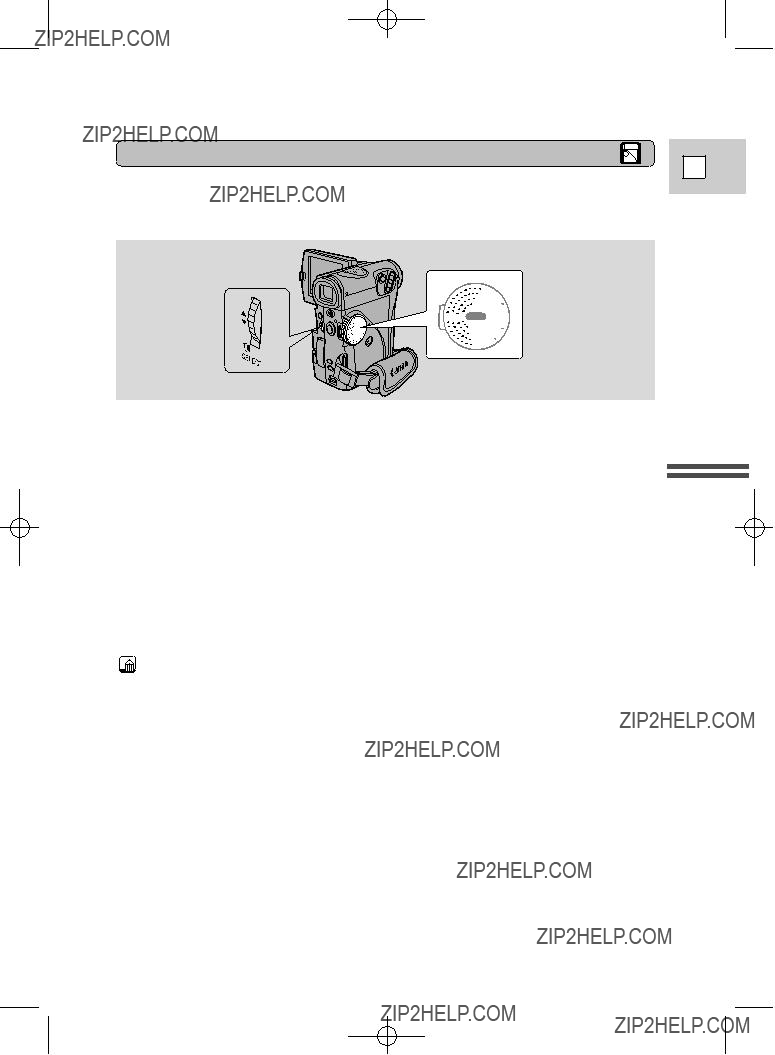
 SELF TIMER button.
 SELF TIMER button, start/stop if you???re shooting movies, or PHOTO if you???re taking a still image.

 34)
34) slower 1/100 1/250 1/500 1/1000
 1/100
1/100

 76).
76).
 34)
34) 132) has been set to OFF through the menu.
 132) is turned off, the 6- second auto date will still appear for 6 seconds.

 SLOW
SLOW
 SLOW
SLOW
 : Signal flow
 SLOW
SLOW

 28).
28).

 28).
28). SLOW
SLOW


 : Signal flow
 28) and the optional
  65) in order to use an external microphone.
 29) or the A/V terminal (use only the video plug) to your TV. You can monitor the sound with headphones (
  65).
65). SLOW
SLOW
 38)
38)
 appear on the display.
 changes to
  .
. 79) at the place you want to stop audio dubbing, then every time you return to that position, audio dubbing will cancel.
 91) when playing back a tape with added sound.
 34)
34)

 34)
34)
 34)
34) 34)
34)


 96) sounds if you have it turned on.
 3
3 48).
48).
 : Signal flow
 SHOW
SHOW
 SEL.SETSET

 112).
112). 34)
34) .
. mark to the image you want to protect.
 protect mark appears on the image.
 mark to the protected image and press the SELECT dial in. The
  protect mark disappears.

 103) first in order to erase an image.
 34)
34)
 IMAGES] NO YES appears in the display.


 114) or one you have recorded yourself, then combine it with the currently recording image, moving or still.


 34)
34)


 DPOF (Digital Print Order Format) print format. Images can be automatically printed on a
  34)
34) .
. to the image you want to mark.
 print mark appears next to the image.
 to the
  print mark disappears.
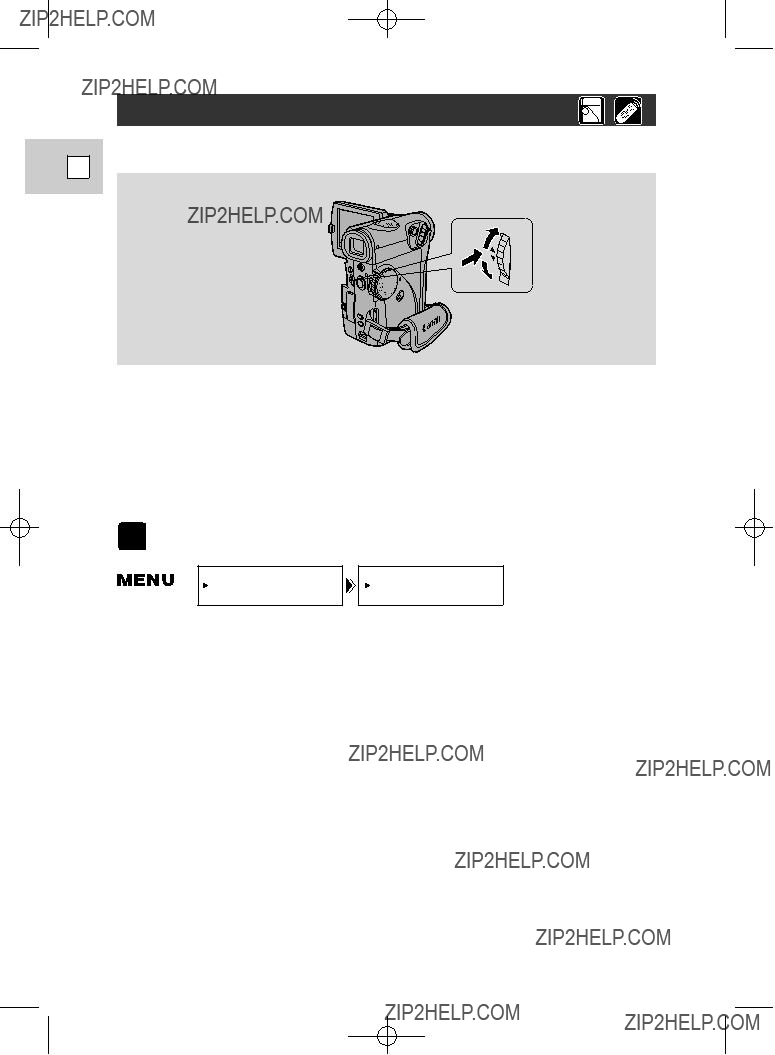
 34)
34)


 123).
123).


 16, 24).
 14-15).
 11-13,
 53).
53). 16, 97).
 12-13,
 12).
12). 14-15).
 16, 97).
 82).
82). 121).
121). 72).
72). 116).
116). 121).
121).
 57-64).
 24).
24). 14).
14).
 121).
121). 121).
121). 28).
28). 27).
27). 94). Turn it the right way and try inserting again.
 mark flashes red in the display even though a MultiMediaCard has been inserted.
 97, 101).
 94).
94). 104) or insert a new MultiMediaCard.
 11), or the battery pack is exhausted or not properly attached (
  12).
12). 53).
53).
 104) or insert a new MultiMediaCard.
 96) and insert a new MultiMediaCard.
 112).
112). 103).
103). 43).
43). 43).
43). 132).
132).


 indicates a flashing display.
 117).
117). 117).
117). 14, 15).
 14).
14). 18)
18) 24).
24). 24)
24) 5min
5min END
END 24)
24) 24)
24) 25)
25) 25)
25) 26)
26) 26)
26) 25)
25) 26)
26) 26)
26) 26)
26) 78)
78) 78)
78) 79)
79) 85)
85) 88)
88)
 REW
REW
 /5
/5
 ???
???
 ???
???
 RTN
RTN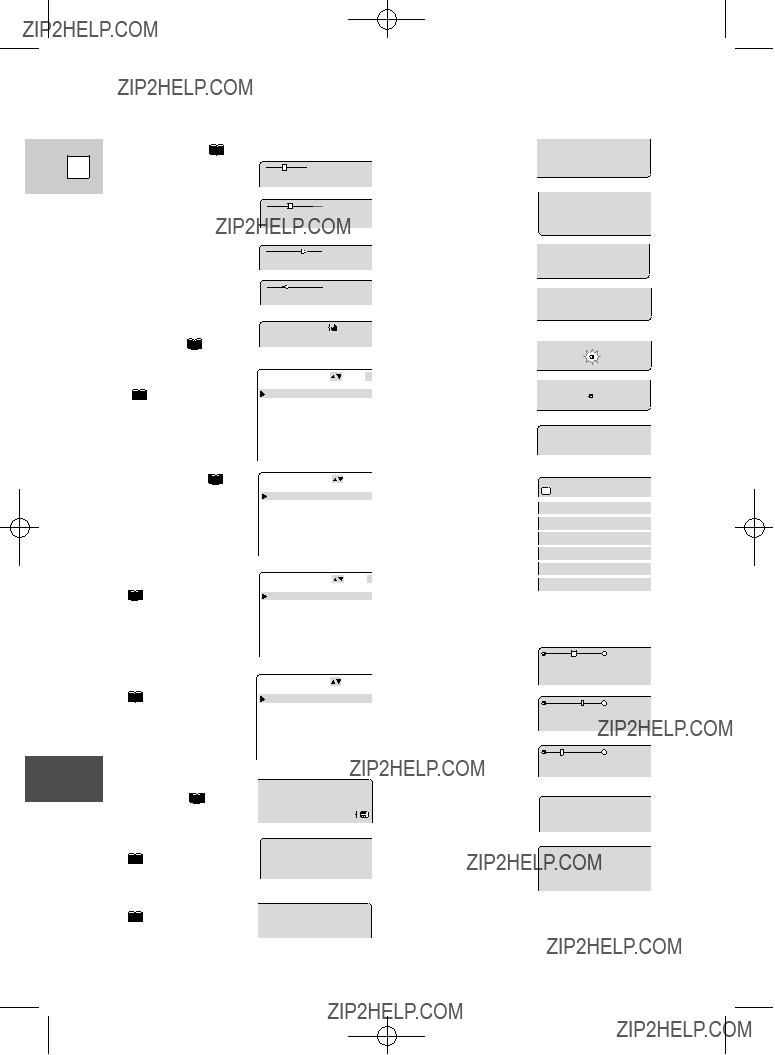
 65)
65) 75)
75) 49)
49) 48)
48) 53).
53). 69): Exposure locked
 72).
72). 70)
70) E.LOCK
  E.LOCK +5
 E.LOCK
  M.FOCUS
 73)
73) 18).
18). 57).
57). 66).
66). 27)
27) 91)
91) 96).
96). 102).
102). 97).
97). 99
99
 99
99 9/99
9/99 9/99
9/99 103).
103). 111).
111). 75).
75).
 45).
45). 12, 117).
 81).
81). 85, 88).
 85, 88).

 flashes green, playback is possible.
 96)
96) 111)
111) 94)
94)