Labels
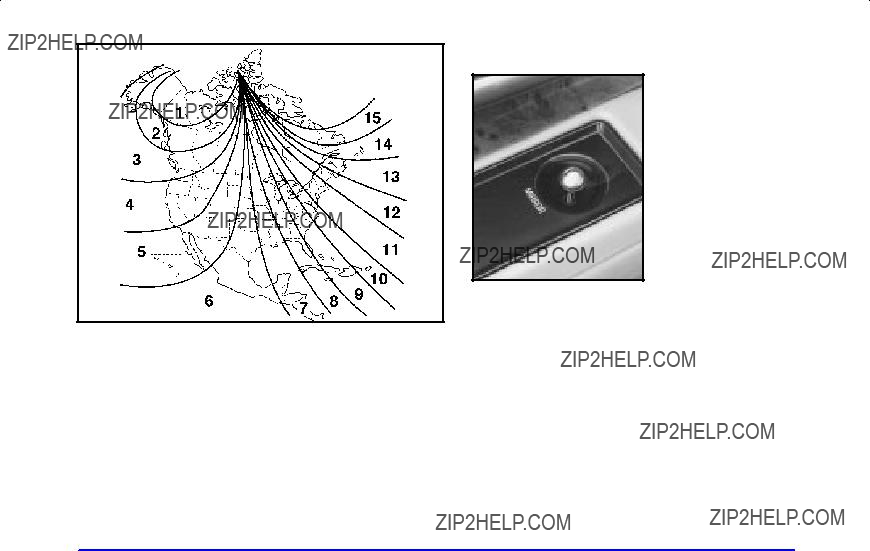
Certification . . . . . . . . . . . . . . . . . . . . . . . . . . . . . . . . . 4-30 Certification/Tire . . . . . . . . . . . . . . . . . . . . . . . . . . . . . 4-30 Service Parts Identification . . . . . . . . . . . . . . . . . . . . . 6-57 Tire-Loading Information . . . . . . . . . . . . . . . . . . . . . . 4-30 Vehicle Identification Number . . . . . . . . . . . . . . . . . . . 6-57
Lamps . . . . . . . . . . . . . . . . . . . . . . . . . . . . . . . . . . . . . . . . 2-40 Courtesy . . . . . . . . . . . . . . . . . . . . . . . . . . . . . . . . . . . . 2-43 Entry Lighting, Delayed . . . . . . . . . . . . . . . . . . . . . . . . 2-43 Exit Lighting, Delayed . . . . . . . . . . . . . . . . . . . . . . . . . 2-43 Exterior . . . . . . . . . . . . . . . . . . . . . . . . . . . . . . . . . . . . 2-40 Illuminated Entry . . . . . . . . . . . . . . . . . . . . . . . . . . . . . 2-43 Interior . . . . . . . . . . . . . . . . . . . . . . . . . . . . . . . . . . . . . 2-43 On Reminder . . . . . . . . . . . . . . . . . . . . . . . . . . . . . . . . 2-41 Perimeter Lighting . . . . . . . . . . . . . . . . . . . . . . . . . . . . 2-44 Theater Dimming . . . . . . . . . . . . . . . . . . . . . . . . . . . . . 2-43
Leaving Your Vehicle . . . . . . . . . . . . . . . . . . . . . . . . . . . . . 2-9 Leaving Your Vehicle with the Engine Running . . . . . . . 2-29 Light Sensor, Twilight Sentinel . . . . . . . . . . . . . . . . . . . . 2-42 Lighter . . . . . . . . . . . . . . . . . . . . . . . . . . . . . . . . . . . . . . . 2-52 Lights
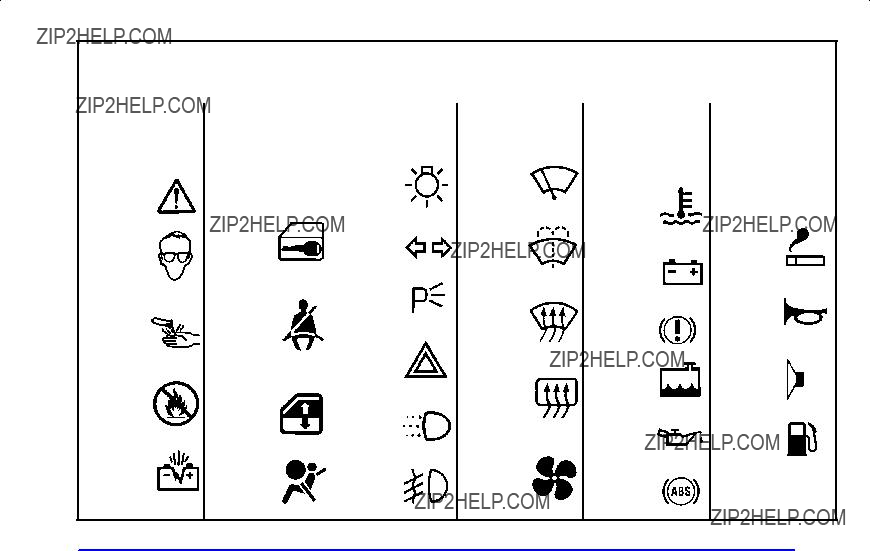
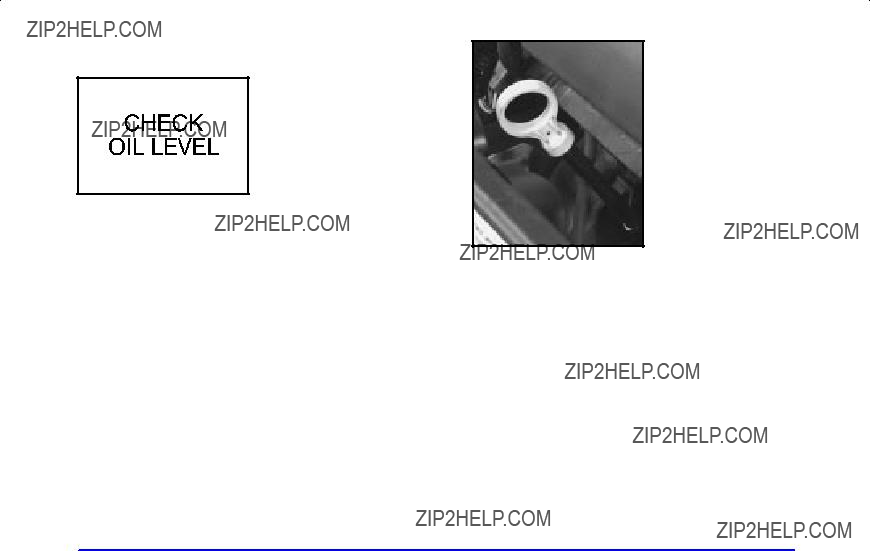
Air Bag Readiness . . . . . . . . . . . . . . . . . . . . . . . 1-20, 2-60 Anti-Lock Brake System Warning. . . . . . . . . . . . 2-62, 4-7 Battery Warning . . . . . . . . . . . . . . . . . . . . . . . . . . . . . . 2-60 Brake System Warning . . . . . . . . . . . . . . . . . . . . . . . . . 2-61 Change Oil Soon . . . . . . . . . . . . . . . . . . . . . . . . . . . . . 2-69 Check Engine . . . . . . . . . . . . . . . . . . . . . . . . . . . . . . . . 2-65 Check Oil Level . . . . . . . . . . . . . . . . . . . . . . . . . . . . . . 2-68 Engine Coolant Temperature Warning . . . . . . . . . . . . . 2-64 Engine Oil Pressure Light . . . . . . . . . . . . . . . . . . . . . . 2-67 Low Fuel . . . . . . . . . . . . . . . . . . . . . . . . . . . . . . . . . . . 2-70 Oil Pressure . . . . . . . . . . . . . . . . . . . . . . . . . . . . . . . . . 2-67
Safety Belt Reminder . . . . . . . . . . . . . . . . . . . . . . . . . . 2-59
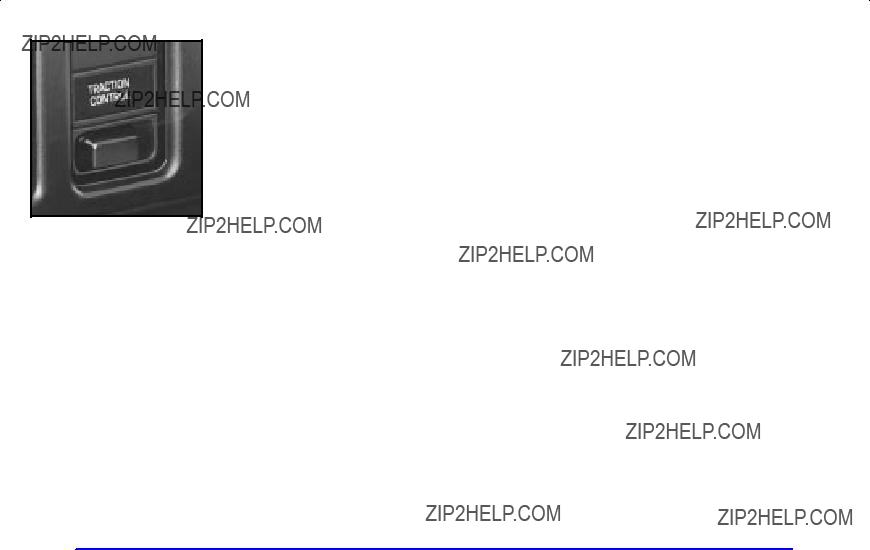
Traction Control System Warning . . . . . . . . . . . . 2-63, 4-9
Traction Off Warning . . . . . . . . . . . . . . . . . . . . . . . . . . . 4-9
Loading Your Vehicle . . . . . . . . . . . . . . . . . . . . . . . . . . . 4-30
Lockout Protection . . . . . . . . . . . . . . . . . . . . . . . . . . . . . . . 2-8
Locks . . . . . . . . . . . . . . . . . . . . . . . . . . . . . . . . . . . . . . . . . 2-4
Cylinders . . . . . . . . . . . . . . . . . . . . . . . . . . . . . . . . . . . 7-34
Delayed Locking . . . . . . . . . . . . . . . . . . . . . . . . . . . . . . 2-6
Door . . . . . . . . . . . . . . . . . . . . . . . . . . . . . . . . . . . . . . . . 2-4
Ignition Transaxle Lock Check . . . . . . . . . . . . . . . . . . 7-36
Key Lock Cylinder Service . . . . . . . . . . . . . . . . . . . . . 7-34
Lockout Protection . . . . . . . . . . . . . . . . . . . . . . . . . . . . . 2-8
Memory Door . . . . . . . . . . . . . . . . . . . . . . . . . . . . . . . . . 2-5
Power Door . . . . . . . . . . . . . . . . . . . . . . . . . . . . . . . . . . 2-5
Rear Door Security . . . . . . . . . . . . . . . . . . . . . . . . . . . . . 2-8
Trunk . . . . . . . . . . . . . . . . . . . . . . . . . . . . . . . . . . . . . . 2-14
Window . . . . . . . . . . . . . . . . . . . . . . . . . . . . . . . . . . . . 2-33
Low Fuel Light . . . . . . . . . . . . . . . . . . . . . . . . . . . . . . . . 2-70
Lubricants and Fluids . . . . . . . . . . . . . . . . . . . . . . . . . . . . 7-39
Lubrication Service, Body . . . . . . . . . . . . . . . . . . . . . . . . 7-34
MagnasteerR . . . . . . . . . . . . . . . . . . . . . . . . . . . . . . . . . 4-10
Maintenance, Normal Replacement Parts . . . . . . . . . . . . 6-65
Maintenance Record . . . . . . . . . . . . . . . . . . . . . . . . . . . . 7-41
Maintenance Schedule . . . . . . . . . . . . . . . . . . . . . . . . . . . . 7-1
Long Trip/Highway Definition . . . . . . . . . . . . . . . . . . . 7-6
Long Trip/Highway Intervals . . . . . . . . . . . . . . . . . . . . . 7-6
Owner Checks and Services . . . . . . . . . . . . . . . . . . . . . 7-33
Periodic Maintenance Inspections . . . . . . . . . . . . . . . . 7-37
Recommended Fluids and Lubricants . . . . . . . . . . . . . 7-39
Scheduled Maintenance Services . . . . . . . . . . . . . . . . . . 7-4
Short Trip/City Definition . . . . . . . . . . . . . . . . . . . . . . . 7-5
Short Trip/City Intervals . . . . . . . . . . . . . . . . . . . . . . . . 7-5


 CAUTION:


 CAUTION:
 CAUTION:
 CAUTION:
 CAUTION:


 CAUTION:
 CAUTION:

 CAUTION:
 CAUTION:
 CAUTION:
 CAUTION:

 CAUTION:
 CAUTION:
 CAUTION:

 CAUTION:
 CAUTION:
 CAUTION:

 CAUTION:
 CAUTION:


 CAUTION:
 CAUTION:


 CAUTION:
 CAUTION:
 CAUTION:

 CAUTION:


 CAUTION:


 CAUTION:


 CAUTION:
 CAUTION:
 CAUTION:

 CAUTION:
 CAUTION:
 CAUTION:
 CAUTION:
 CAUTION:
 CAUTION:
 CAUTION:


 CAUTION:
 CAUTION:
 CAUTION:


 CAUTION:


 CAUTION:


 CAUTION:
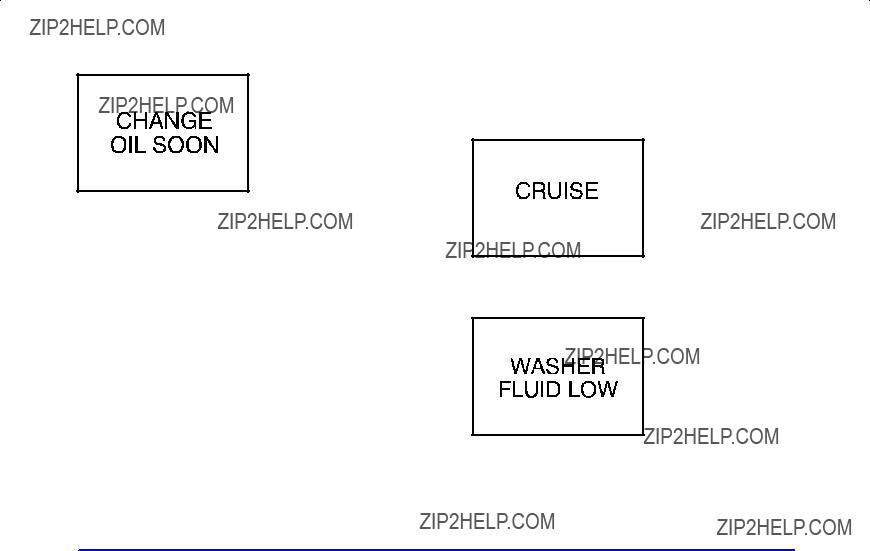


 CAUTION:


 CAUTION:


 CAUTION:
 CAUTION:


 CAUTION:

 CAUTION:
 CAUTION:
 CAUTION:


 CAUTION:


 CAUTION:
 CAUTION:
 CAUTION:
 CAUTION:

 CAUTION:
 CAUTION:

 CAUTION:
 CAUTION:
 CAUTION:
 CAUTION:
 CAUTION:

 CAUTION:


 CAUTION:
 CAUTION:
 CAUTION:
 CAUTION:
 CAUTION:
 CAUTION:
 CAUTION:


 CAUTION:

 CAUTION:
 CAUTION:
 CAUTION:
 CAUTION:
 CAUTION:


 CAUTION:


 CAUTION:
 CAUTION:
 CAUTION:


 CAUTION:
 CAUTION:
 CAUTION:

 CAUTION:
 CAUTION:


 CAUTION:
 CAUTION:
 CAUTION:
 CAUTION:

 CAUTION:
 CAUTION:


 CAUTION:


 CAUTION:


 CAUTION:
 CAUTION:
 CAUTION: