???Do not allow any objects (e.g., flammable
material, coins, pins); or liquids of any kind (water, soft drinks, etc.) to penetrate the unit.
.........................................................................................................
???Immediately turn the power off, remove
the AC adaptor from the outlet, and request servicing by your retailer, the
nearest Roland Service Center, or an authorized Roland distributor, as listed on the ???Information??? page when:
???The AC adaptor or the power-supply cord has been damaged; or
???If smoke or unusual odor occurs
???Objects have fallen into, or liquid has been spilled onto the unit; or
???The unit has been exposed to rain (or otherwise has become wet); or
???The unit does not appear to operate normally or
exhibits a marked change in performance.
.........................................................................................................
???Before using the unit in a foreign country,
consult with your retailer, the nearest Roland Service Center, or an authorized Roland distributor, as listed on the ???Information??? page.
.........................................................................................................
???Batteries must never be recharged, heated, taken apart, or thrown into fire or water.
.........................................................................................................
???The unit and the AC adaptor should be located so their location or position does
not interfere with their proper ventilation.
.........................................................................................................
???Always grasp only the output plug or the body of the AC adaptor when plugging into,
or unplugging from, this unit or an outlet.
.........................................................................................................
???At regular intervals, you should unplug the AC adaptor and clean it by using a dry cloth
to wipe all dust and other accumulations  away from its prongs. Also, disconnect the power plug from the power outlet whenever the unit is to remain unused for an extended period of time. Any accumu- lation of dust between the power plug and the power outlet can result in poor insulation and lead to fire.
.........................................................................................................
???Try to prevent cords and cables from
becoming entangled. Also, all cords and cables should be placed so they are out of the reach of children.
........................................................................................................
???Never climb on top of, nor place heavy objects on the unit.
........................................................................................................
???Never handle the AC adaptor body, or its
output plugs, with wet hands when plugging into, or unplugging from, an outlet or this unit.
........................................................................................................
???Before moving the unit, disconnect the AC adaptor and all cords coming from
external devices.
........................................................................................................
???Before cleaning the unit, turn off the
power and unplug the AC adaptor from the outlet (p. 12).
........................................................................................................
???Whenever you suspect the possibility of
lightning in your area, disconnect the AC adaptor from the outlet.
........................................................................................................
???If used improperly, batteries may
explode or leak and cause damage or injury. In the interest of safety, please read and observe the following precau- tions (p. 11).
???Carefully follow the installation instruc- tions for batteries, and make sure you observe the correct polarity.
???Avoid using new batteries together with used ones. In addition, avoid mixing different types of batteries.
???Remove the batteries whenever the unit is to remain unused for an extended period of time.
???If a battery has leaked, use a soft piece of cloth or paper towel to wipe all remnants of the discharge from the battery compartment. Then install new batteries. To avoid inflammation of the skin, make sure that none of the battery discharge gets onto your hands or skin. Exercise the utmost caution so that none of the discharge gets near your eyes. Immediately rinse the affected area with running water if any of the discharge has entered the eyes.
???Never keep batteries together with metallic objects such as ballpoint pens, necklaces,
hairpins, etc.
........................................................................................................
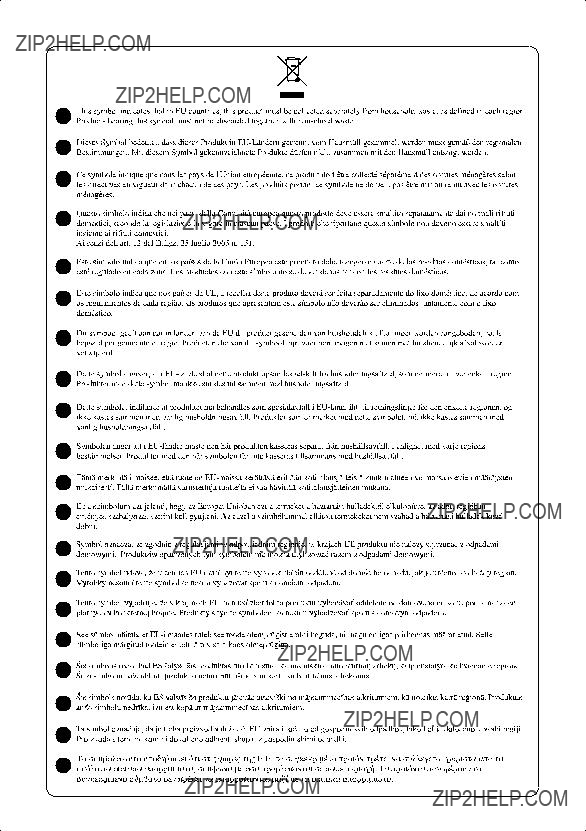
???Used batteries must be disposed of in
compliance with whatever regulations for their safe disposal that may be observed in the region in which you live.
........................................................................................................
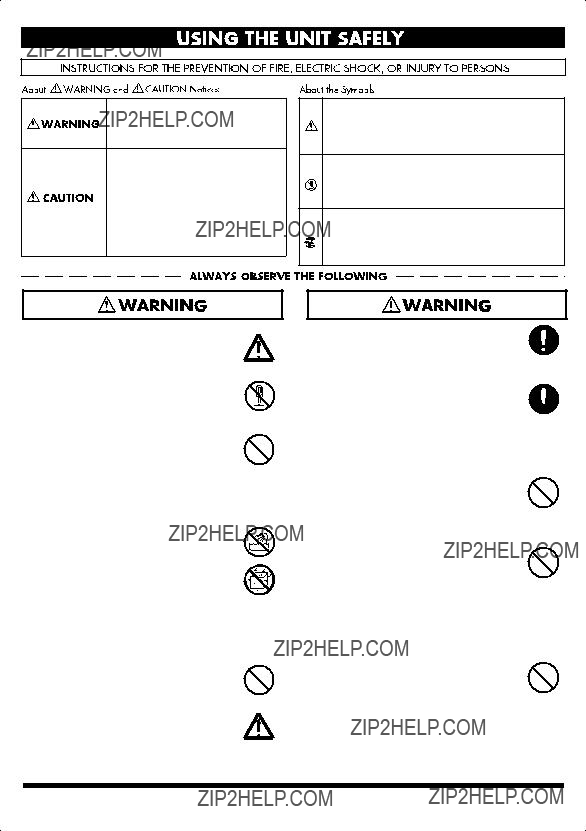
 symbol alerts the user to important instructions or warnings.The specific meaning of the symbol is determined by the design contained within the triangle. In the case of the symbol at left, it is used for general cautions, warnings, or alerts to danger.
 symbol alerts the user to items that must never be carried out (are forbidden). The specific thing that must not be done is indicated by the design contained within the circle. In the case of the symbol at left, it means that the unit must never be disassembled.
 specified on the AC adaptor???s body. Other AC adaptors may use a different polarity, or be designed for a different voltage, so their use could result in damage, malfunction, or electric shock.
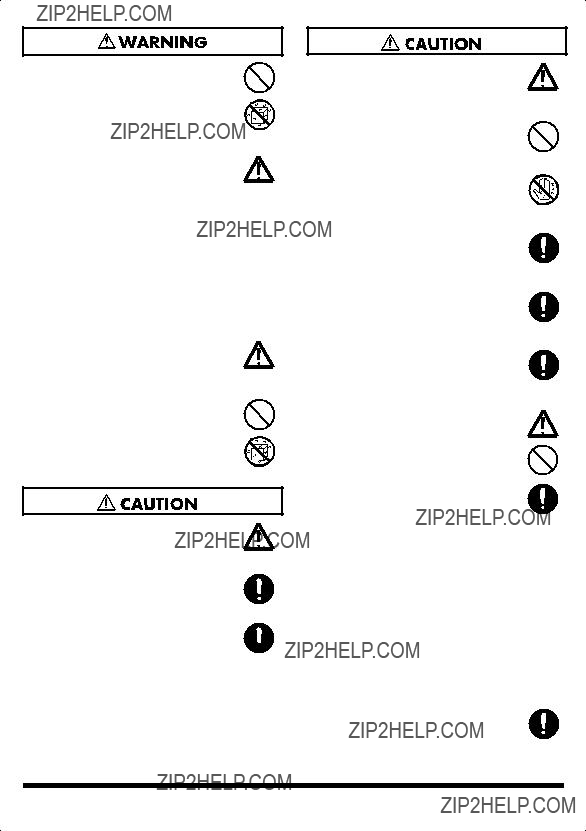


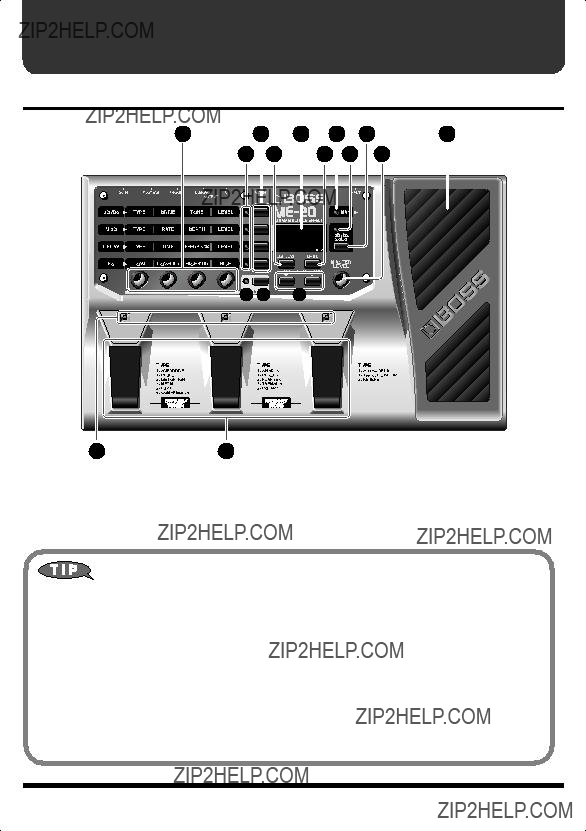
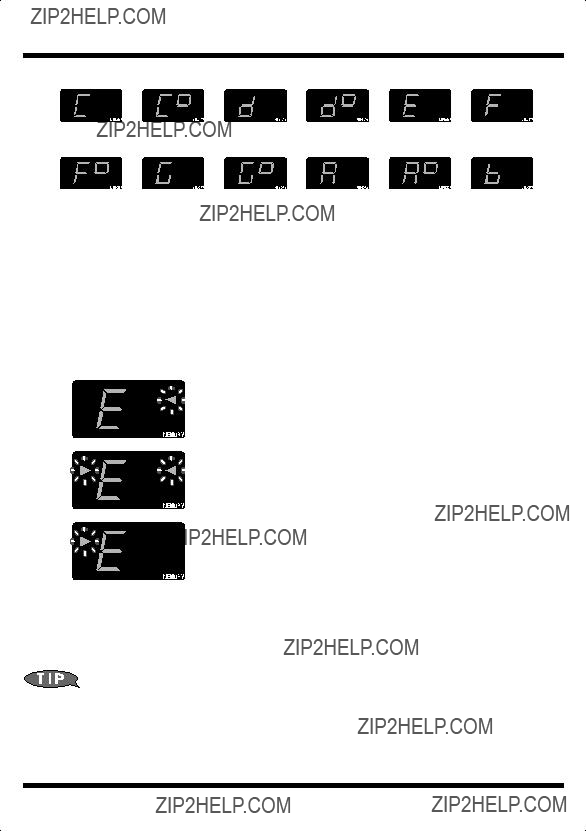
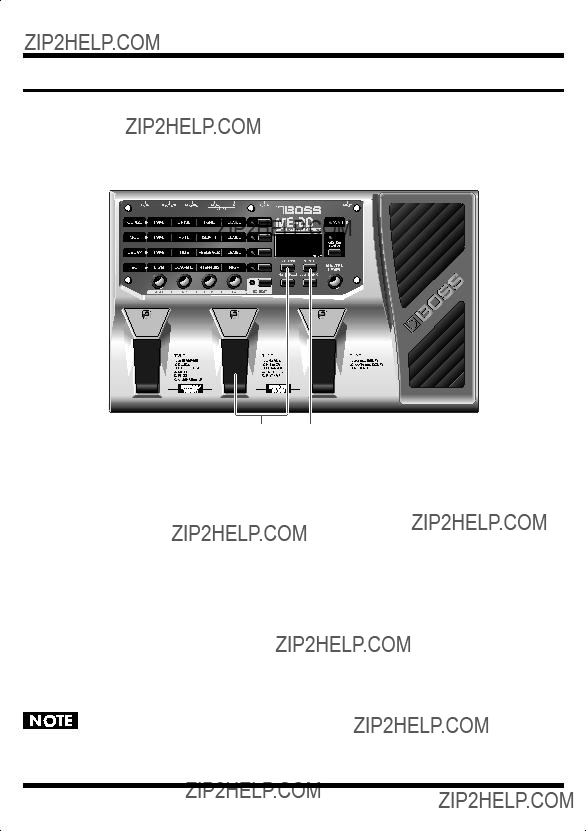
 ][
][ ] to change the value of the setting as desired.
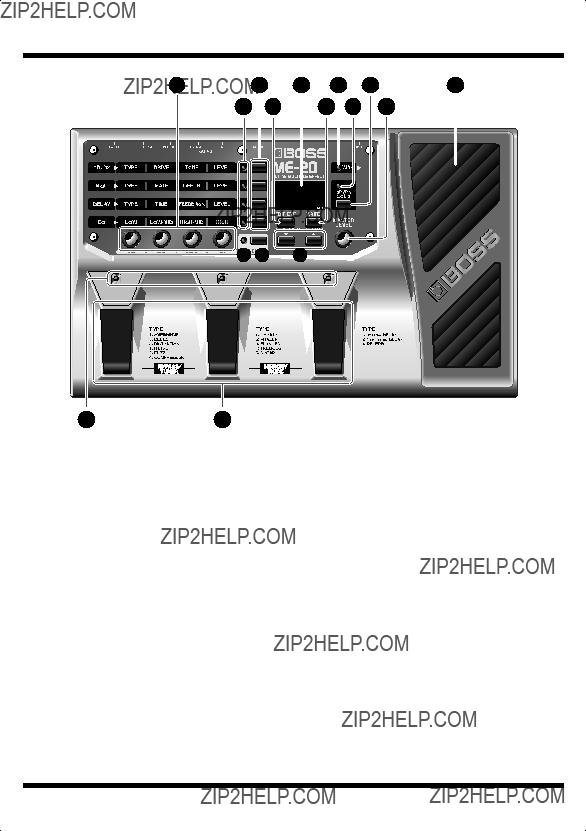

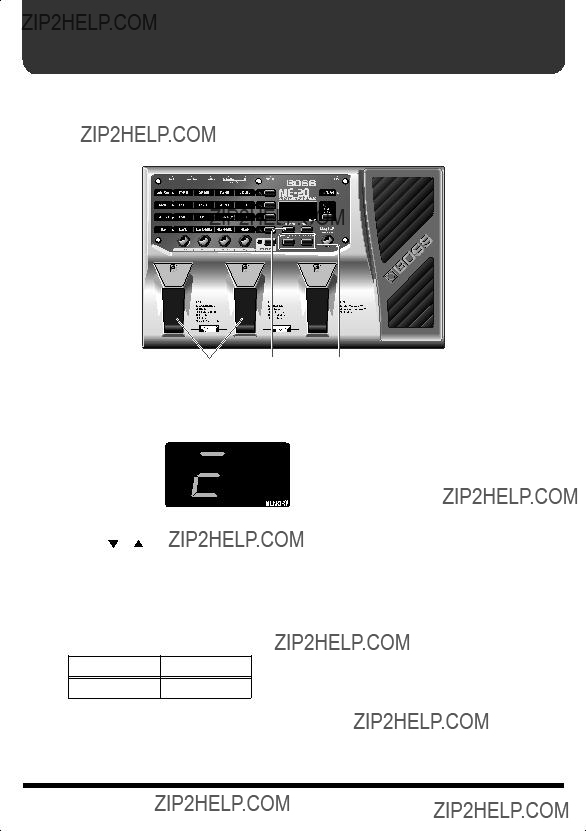
 /
/ Buttons
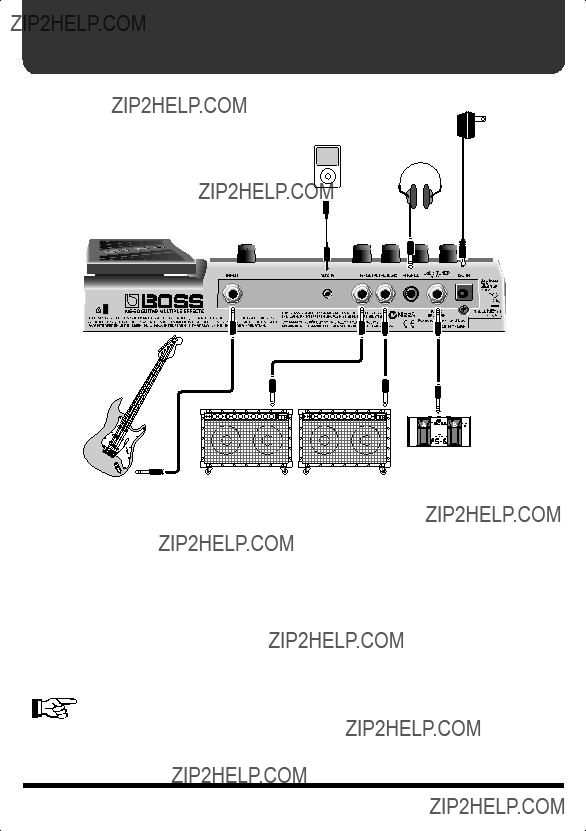
 Phones Jack


 Lit
Lit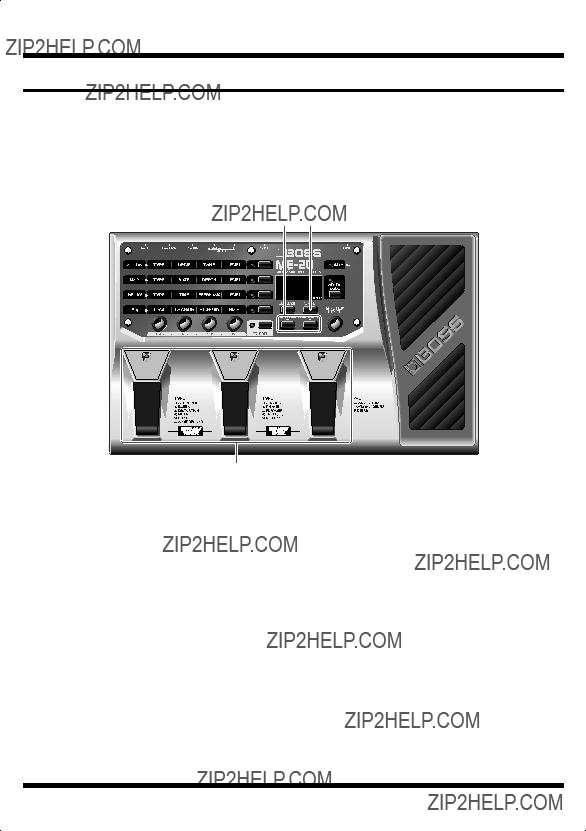
 ] [
] [ ] to select the bank.
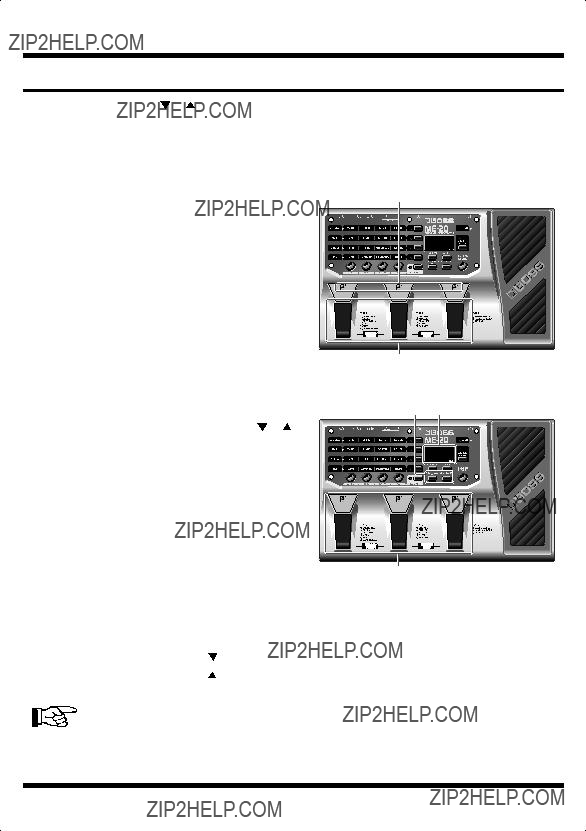
 ] [
] [ ] and the number pedals
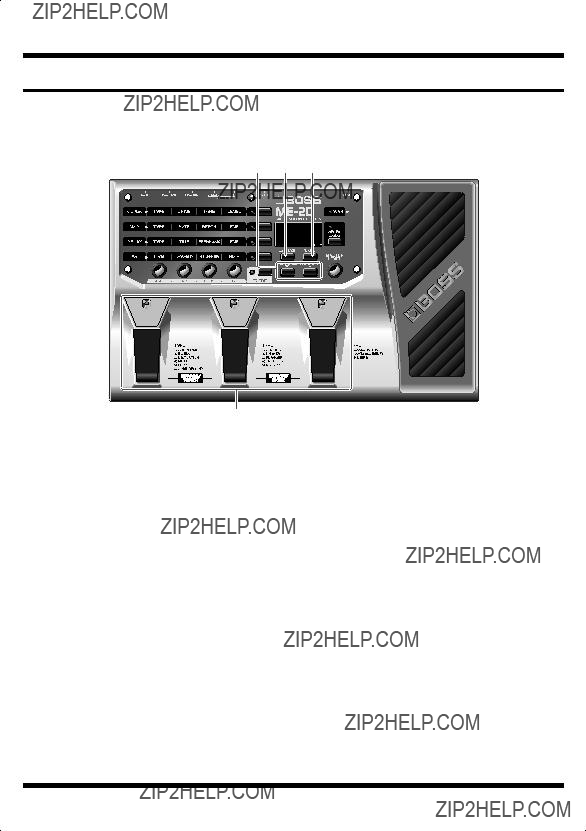
 ] [
] [ ] control NS THRESHOLD, allowing you to set all the parameters.
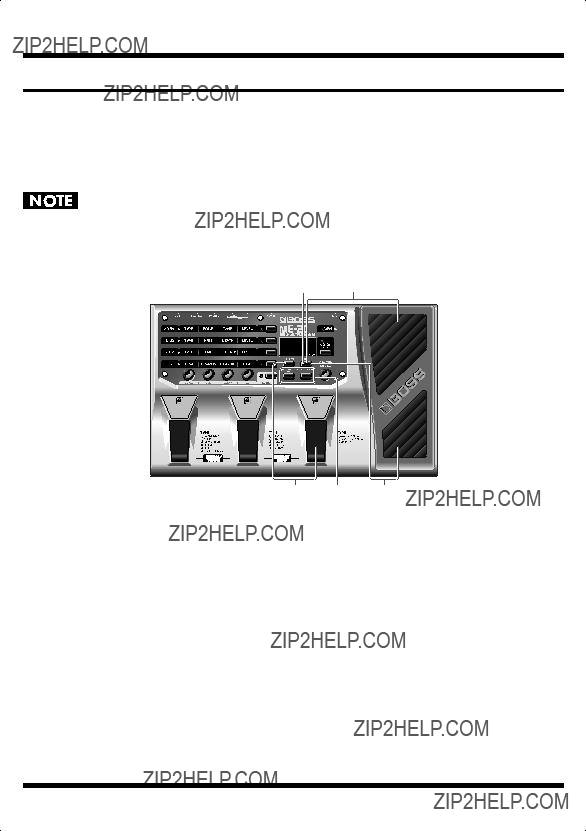
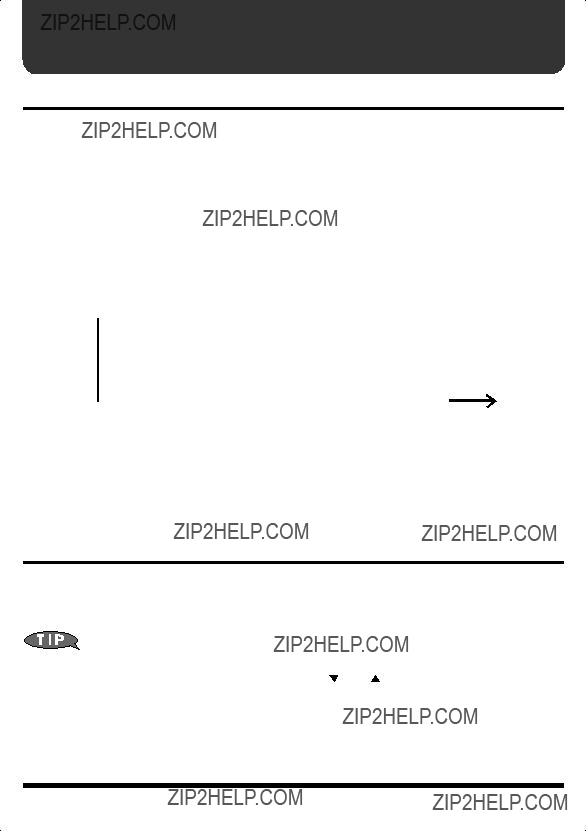
 ] [
] [ ] to set the value