??NECESITA AYUDA?
Para servicio, reparaciones o preguntas relacionadas al producto, por favor llame al n??mero del centro de servicio en el pa??s donde usted compr?? su producto. NO devuelva el producto al fabricante. Llame o lleve el producto a un centro de servicio autorizado.
DOS A??OS DE GARANT??A LIMITADA
(No aplica en M??xico, Estados Unidos o Canad??) ??Qu?? cubre la garant??a?
???La garant??a cubre cualquier defecto de materiales o de mano de obra. Applica no se responsabiliza por ning??n costo que exceda el valor de compra del producto.
??Por cu??nto tiempo es v??lida la garant??a?
???Por dos a??os a partir de la fecha original de compra.
??C??mo se puede obtener servicio?
???Conserve el recibo original de compra.
???Por favor llame al n??mero del centro de servicio autorizado.
Esta garant??a no cubre:
???Los productos que han sido utilizados en condiciones distintas a las normales
???Los da??os ocasionados por el mal uso, el abuso o negligencia
???Los productos que han sido alterados de alguna manera
???Los da??os ocasionados por el uso comercial del producto
???Los productos utilizados o reparados fuera del pa??s original de compra
???Las piezas de vidrio y dem??s accesorios empacados con el aparato
???Los gastos de tramitaci??n y embarque asociados al reemplazo del producto
???Los da??os y perjuicios indirectos o incidentales
NEED HELP?
For service, repair or any questions regarding your appliance, call the appropriate "800" number on the cover of this book. Do not return the product to the place of purchase.
Do not mail the product back to the manufacturer nor bring it to a service center. You may also want to consult the website listed on the cover of this manual.
One-Year Limited Warranty
(Applies only in the United States and Canada) What does it cover?
???Any defect in material or workmanship; provided; however, Applica???s liability will not exceed the purchase price of the product.
For how long?
???One year after the date of original purchase.
What will we do to help you?
???Provide you with a reasonably similar replacement product that is either new or factory refurbished.
How do you get service?
???Save your receip t as proof of the date of sale.
???Check our on-line service site at www.prodprotect.com/applica, or call our toll-free number, 1-800-231-9786, for general warranty service.
???If you need parts or accessories, please call 1-800-738-0245.
What does your warranty not cover?
???Damage from commercial use
???Damage from misuse, abuse or neglect
???Products that have been modified in any way
???Products used or serviced outside the country of purchase
???Glass parts and other accessory items that are packed with the unit
???Shipping and handling costs associated with the replacement of the unit
???Consequential or incidental damages (Please note, however, that some states do not allow the exclusion or limitation of consequential or incidental damages, so this limitation may not apply to you.)
How does state law relate to this warranty?
???This warranty gives you specific legal rights, and you may also have other rights that vary from state to state or province to province.

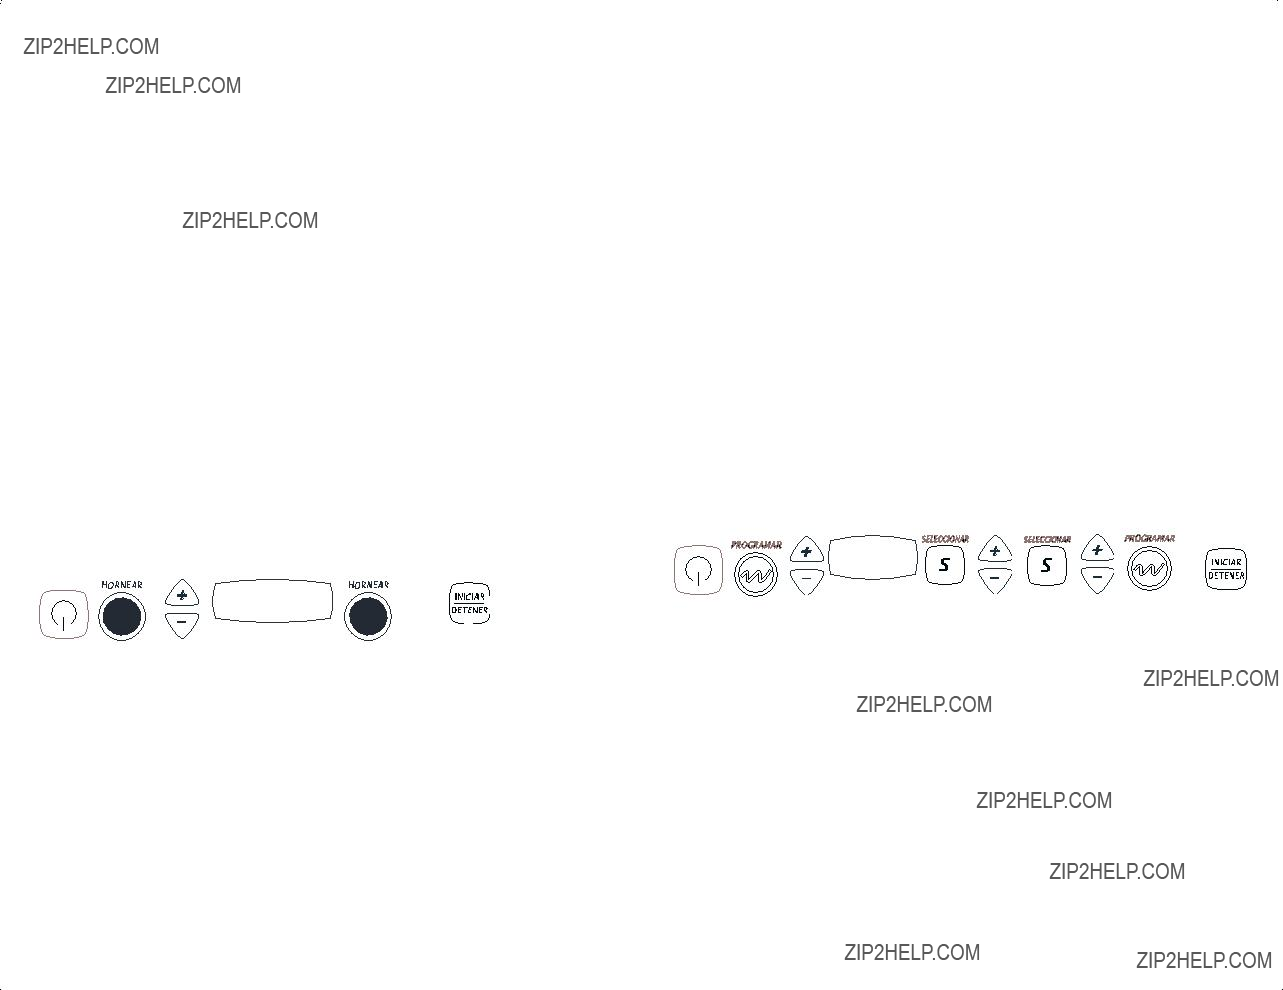
 a fin de apagar (OFF) todos los controles, antes de enchufar o desconectar el cable de la toma de corriente.

 o reducir
  .
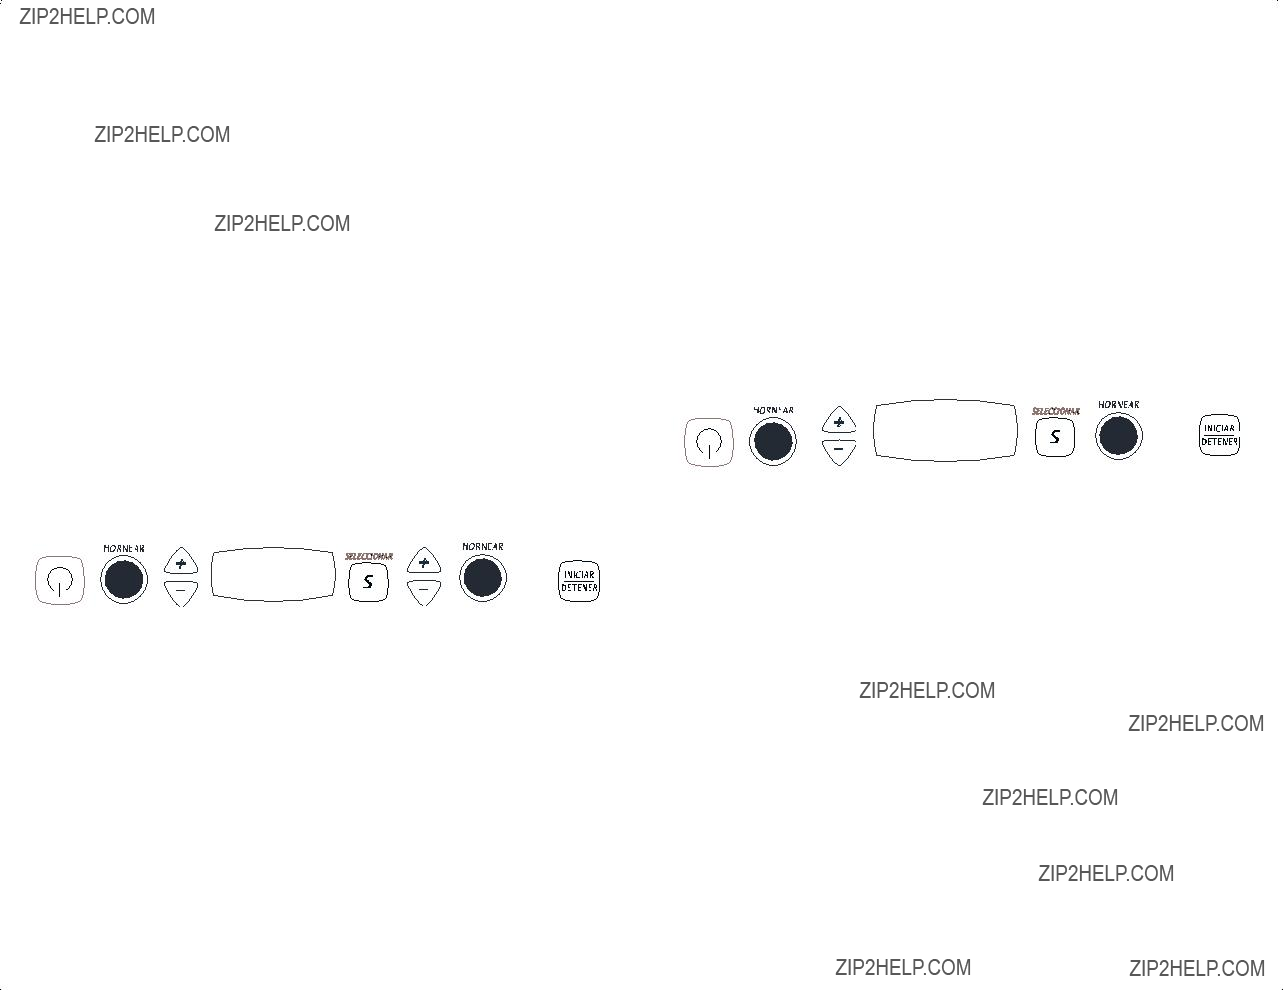
. para encender el aparato.
 y
y 

 . El aparato emite un bip.


 programaci??n, presione INICIAR/DETENER dos veces para cancelar o el bot??n de encendido para apagar y encender el aparato.
 para aumentar o disminuir el tiempo de cocci??n.
 para continuar cocinando, con la excepci??n del ciclo de TOSTADO que una vez que se abre la puerta del aparato, el ciclo termina.


 o alimento envasado, y convi??rtalas al tiempo


 (En ciertos modelos)


 Recaliente la comida sobrante, restaurando la frescura, textura y el sabor original.

 para encender el aparato.


 hasta que esta aparezca en la pantalla.

 y despu??s, presione


 para seleccionar.
 o
o  para iniciar el ciclo de cocci??n. Para modificar el tiempo de cocci??n, presione
 , y despu??s presione

 o
o  para iniciar el ciclo de cocci??n.
 para encender el aparato.


 hasta aparecer CACEROLA.
 para seleccionar la temperatura indicada en la receta 191?? C (375?? F).
 para seleccionar el tiempo (45 min) indicado en la receta.

 o
o 
 para encender el horno.
 .
. hasta que aparezca
  o
o  para iniciar el proceso de rotaci??n.


 para interrumpir el ciclo de rotaci??n.
 para encender el aparato.

 hasta que est?? aparezca en la pantalla.
 o
o  para
para dos veces para cocinar una pizza regular seg??n el tiempo ya programado.
 para encender el aparato.


 GALLETAS
 para encender el aparato.
 .
.
 hasta que este aparezca en la pantalla.
 o
o  para
para 


 iniciar el ciclo de hornear. Para modificar el tiempo de cocci??n, presione
  ,
,


 (En ciertos modelos) MOLLETES (Bruschetta)
 para encender el aparato.
 El tiempo de cocci??n preprogramado aparece en la pantalla.
 o
o 

 para empezar a hornear.
 .
. o
o  para iniciar el ciclo de cocci??n.
 dos veces para empezar a cocinar con el tiempo preprogramado.


 RECALENTAR
 para encender el aparato.
 .
.
 hasta que este
 o
o 

 para iniciar


 , presione
 , y despu??s, presione


 o
o  para iniciar el ciclo de hornear.
 para encender el aparato.
 la pantalla exhibe el n??mero programado, ???4???.
 , y despues presione
  o
o  para iniciar el ciclo de tostado.
 dos veces para iniciar el ciclo de tostado medio seg??n el tiempo ya programado.
 para encender el aparato.

 hasta que este aparezca en la pantalla.
 o
o  para iniciar


 , presione
 y despu??s, presione
  o
o  para iniciar el ciclo de hornear.
 para encender el aparato.


 hasta que este aparezca en la pantalla.
 o
o  para iniciar el ciclo de cocci??n. Para modificar el tiempo de cocci??n, presione
 para encender el aparato.
 para escoger la temperatura baja (LOW) y despu??s, presione


 (Este ciclo se usa solamente para piezas de pollo.)
 o
o  para iniciar el ciclo de cocci??n. Para modificar el tiempo de cocci??n, presione
 y despu??s, presione
  o
o  para iniciar el ciclo de asar.

 para continuar con el ciclo de cocci??n.


 para continuar coci??ndolo. Al finalizar el tiempo de cocci??n, el horno produce una se??al audible. Verifique el punto de cocci??n.


 and
and  . The unit beeps once.
 or
or  or ???PRESIONE HACIA ARRIBA O HACIA ABAJO??? scrolls across
  or
or  to switch to the desired language.
 or ???PRESIONE SELECCIONAR??? scrolls across the display.
 . From now on, the instructions on the display will appear in the language you selected.


 If the wrong button has been pressed and you would like to restart the


 programming, press INICIAR/DETENER (START/STOP) twice to cancel or POWER to turn the unit off and back on.


 to resume cooking. The exception is the TOSTAR (TOAST) cycle, where once the door is opened, the cycle ends.


 (Certain models)


 Reheat leftovers restoring the original flavor, moisture and texture.
 to turn the unit

 until your selection appears.
 or
or 


 to begin cooking. To change cooking time to reflect recipe or package instructions PRESS and then PRESS


 or
or  to begin cooking.
 to turn the unit
 to select


 to select the recipe baking temperature of 375?? F (191??C).


 to select the recipe baking time of 45 minutes.


 or
or 
 to turn the oven
 or
or  to begin rotating the food.
 to stop the

 to select your desired food PRESS

 to select your desired weight PRESS


 or
or  to begin cooking.


 to turn the unit
 twice to begin cooking a regular pizza at the default time setting.


 (Certain models) GALLETAS (BAKE COOKIES)
 to turn the unit

 until your selection


 (Certain models) MOLLETAS (BRUSCHETTA)
 to turn the unit
  . The preprogrammed time appears on the display.
 or
or  . Oven will start baking.
 or
or  to start cooking cycle.
 twice to start cooking with


 RECALENTAR (REHEAT)
 to turn the unit

 until your selection
 to turn the unit
  . The default setting of 4 appears on the screen.
 or
or  to begin toasting. To select another setting (1 to 7), PRESS
 , and then PRESS or
  to begin toasting.
 twice to begin toasting at the default time setting.
 to turn the unit
 or
or  to begin baking.


 To change cooking time, PRESS


 , PRESS
 , and then PRESS


 to begin baking.
 to turn the unit
 . (See choices below)
 until your selection
 or
or 


 to begin cooking. To change broiling time, PRESS


 , PRESS
 and then PRESS or
  to begin broiling.
 to resume broiling.
 to turn the unit

 or
or  to begin cooking.
 , and then PRESS
 or
or 


 to begin broiling.
 to resume broiling.
 to continue cooking. When cooking time is complete, oven will give an audible signal. Check for doneness.


 Marca registrada de